Zinga cold galvanizing

It was always my intention to get my chassis hot-dip galvanised. But there were potential problems. The age of the chassis and the use of Waxoyl on some tubes would make the whole process more complex, or even impossible.

To work-around that problem I would have to get the entire chassis dip treated to clean it inside and out, removing rust, powder-coat and any waxy contaminants. Now that whole process doesn’t come cheap, and would seriously harm the project’s bank balance. On top of that the transport costs from the Isle of Wight to MHS in Wiltshire (for the chassis mods), then to the surface treatment company in the  Midlands followed by a trip over to the galvanisers in South Wales before returning to the Island would cost a fortune.

The budget for the project is tighter now that I’m self-employed again, every penny spent has to be worthwhile. Less cash means slower progress as I have to do more of the work myself. Where I don’t have the necessary skills, I’ll use the best local companies here on the Island. Despite only being a tiny island we have a disproportional number of skilled engineers, the only real problem is finding the people with a professional attitude. All too often you find the “that’ll do” slap dash approach and that’s no good for this project.

So far I have a great welder lined-up and hope to agree the surface prep blasting with a local company. They will media blast the chassis and then coat it with my chosen system.

Zinga

Earlier I mentioned the need to take the chassis to South Wales to be galvanised, well I have discovered something just as good, or in some cases better. The product is Zinga and its a way to zinc coat the chassis without heat. It can be applied by brush, roller or spray and gives the same cathodic protection as HDG  (Hot-dip galvanising). How can I be certain that it works? Well, other than their own marketing material, I was able to find industry reports on the product’s actual performance. It’s NATO approved too. It’s used on ocean-going ships and oil rigs where it out-performs HDG. Closer to home it was used on the structure of the London Olympic stadium and given a minimum 60 year life before re-coating. If the Mantula chassis lasts that long I’ll be long gone!

In the event of any damage the Zinga can be locally repaired. Try doing that with HDG.

Another benefit of the system is that it takes over-coating better than HDG. I’ll be using Zinga Ceram which is a two-pack ceramic coating which is said to be abrasion resistant. It comes in the full Range of RAL colours, so I just need to decide which one to choose. The traditional Marcos dull blue, or something more exciting.

I hope I don’t read like a Zinga salesman, but it just seems to be the perfect solution for my project. The only sticking point so far is the relative lack of enthusiasm from the surface blasting company. They are trying to sell me on a high zinc paint, not the same thing at all.

No turning back

Well, I’ve finally summoned the courage to start cutting bits off the chassis. I started small by removing one of the old-style seat belt brackets. Easy, let’s do something bigger. Ten minutes later the rear top radius rod mounting was history.

Near-side upper radius arm support is removed.

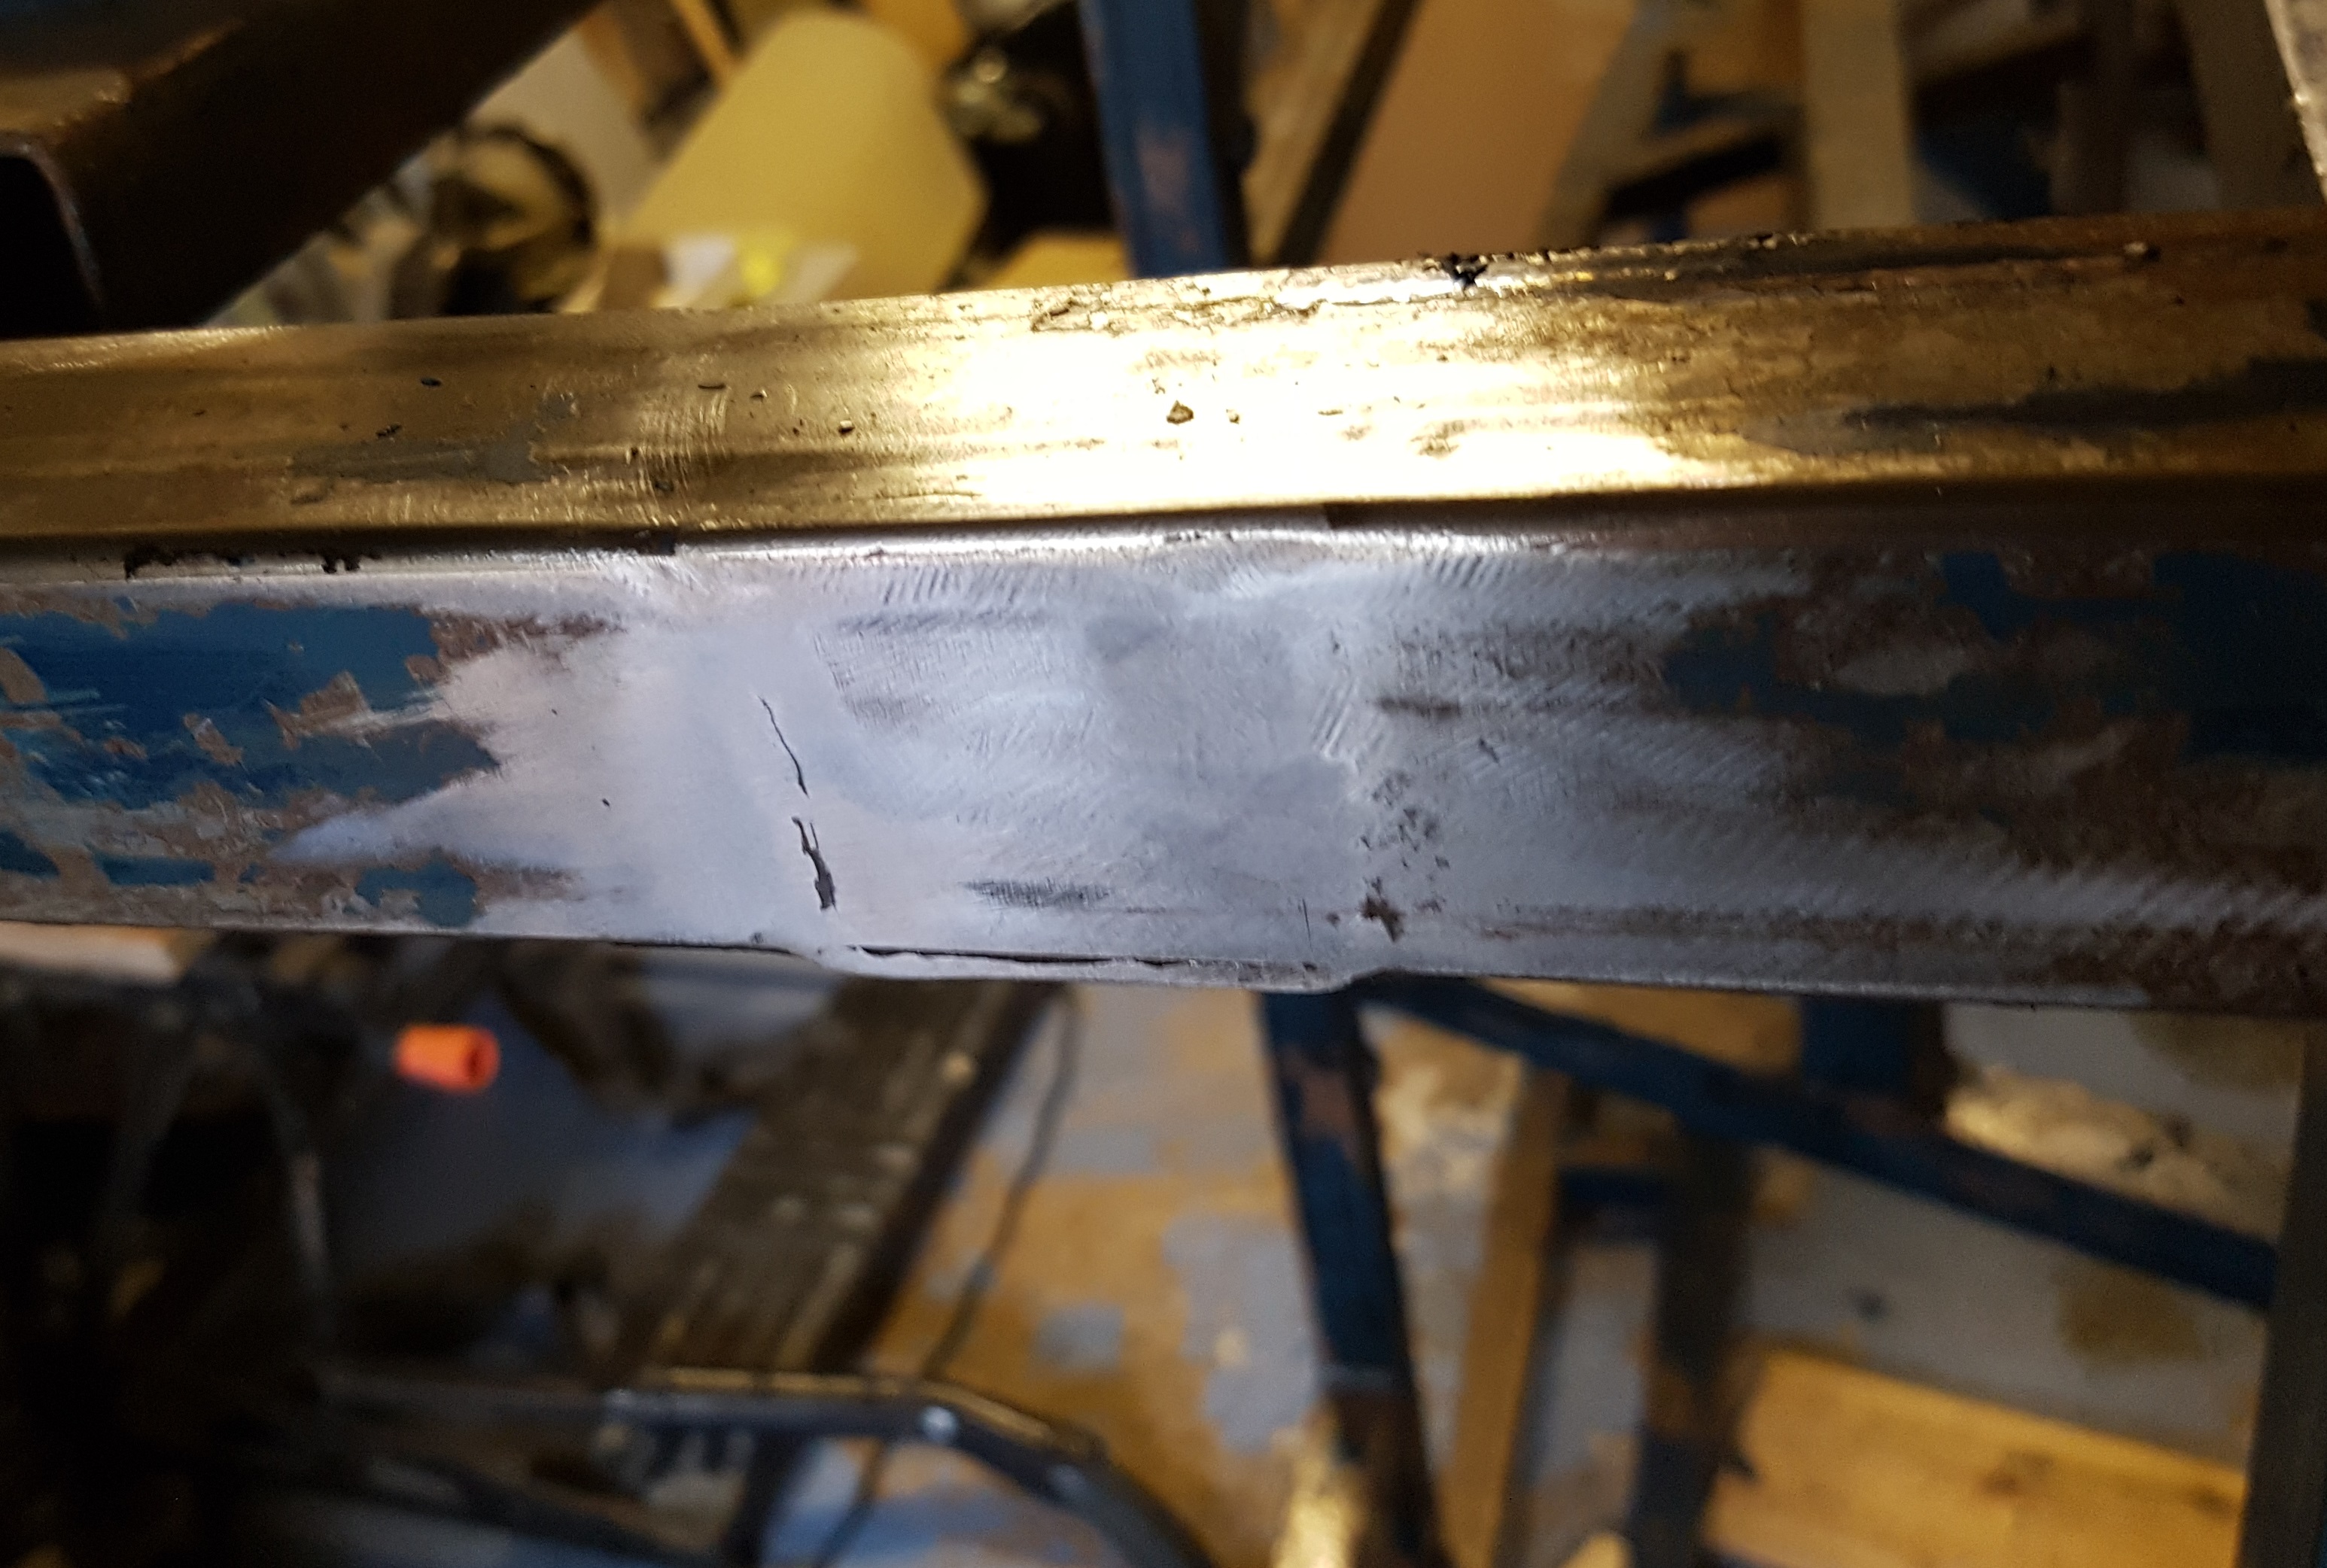
There’s definitely an art to using an angle grinder. Get it wrong and the damage it can do is frightening! I’m using a thin cut-off discs to slice through the unwanted parts. I follow that with a coarse 40 grit flap-wheel to get rid of the weld bead. It’s quite surprising how fast the flap-wheel ripped through the metal!  The flap wheel is so much better than the traditional solid grinding disc. I then finish with a medium flap-wheel to get a good finish. So far I’ve only made one error where the flap wheel touched the chassis in the wrong place. Otherwise this has been done without removing any tube wall thickness.

First attempt to grind away a weld

I seems impossible to remove all traces of the weld due to minor distortions to the tube wall, but I think it will be fine once the Zinga zinc and ceramic coating have been applied.

That’s all for now, back to the daily grind…

Ian

IRS development

It’s been a slow year for work on my old Mantula. The latest delay has been caused by having too much paying work to do. I can’t complain its nice to know that I can pay the bills!

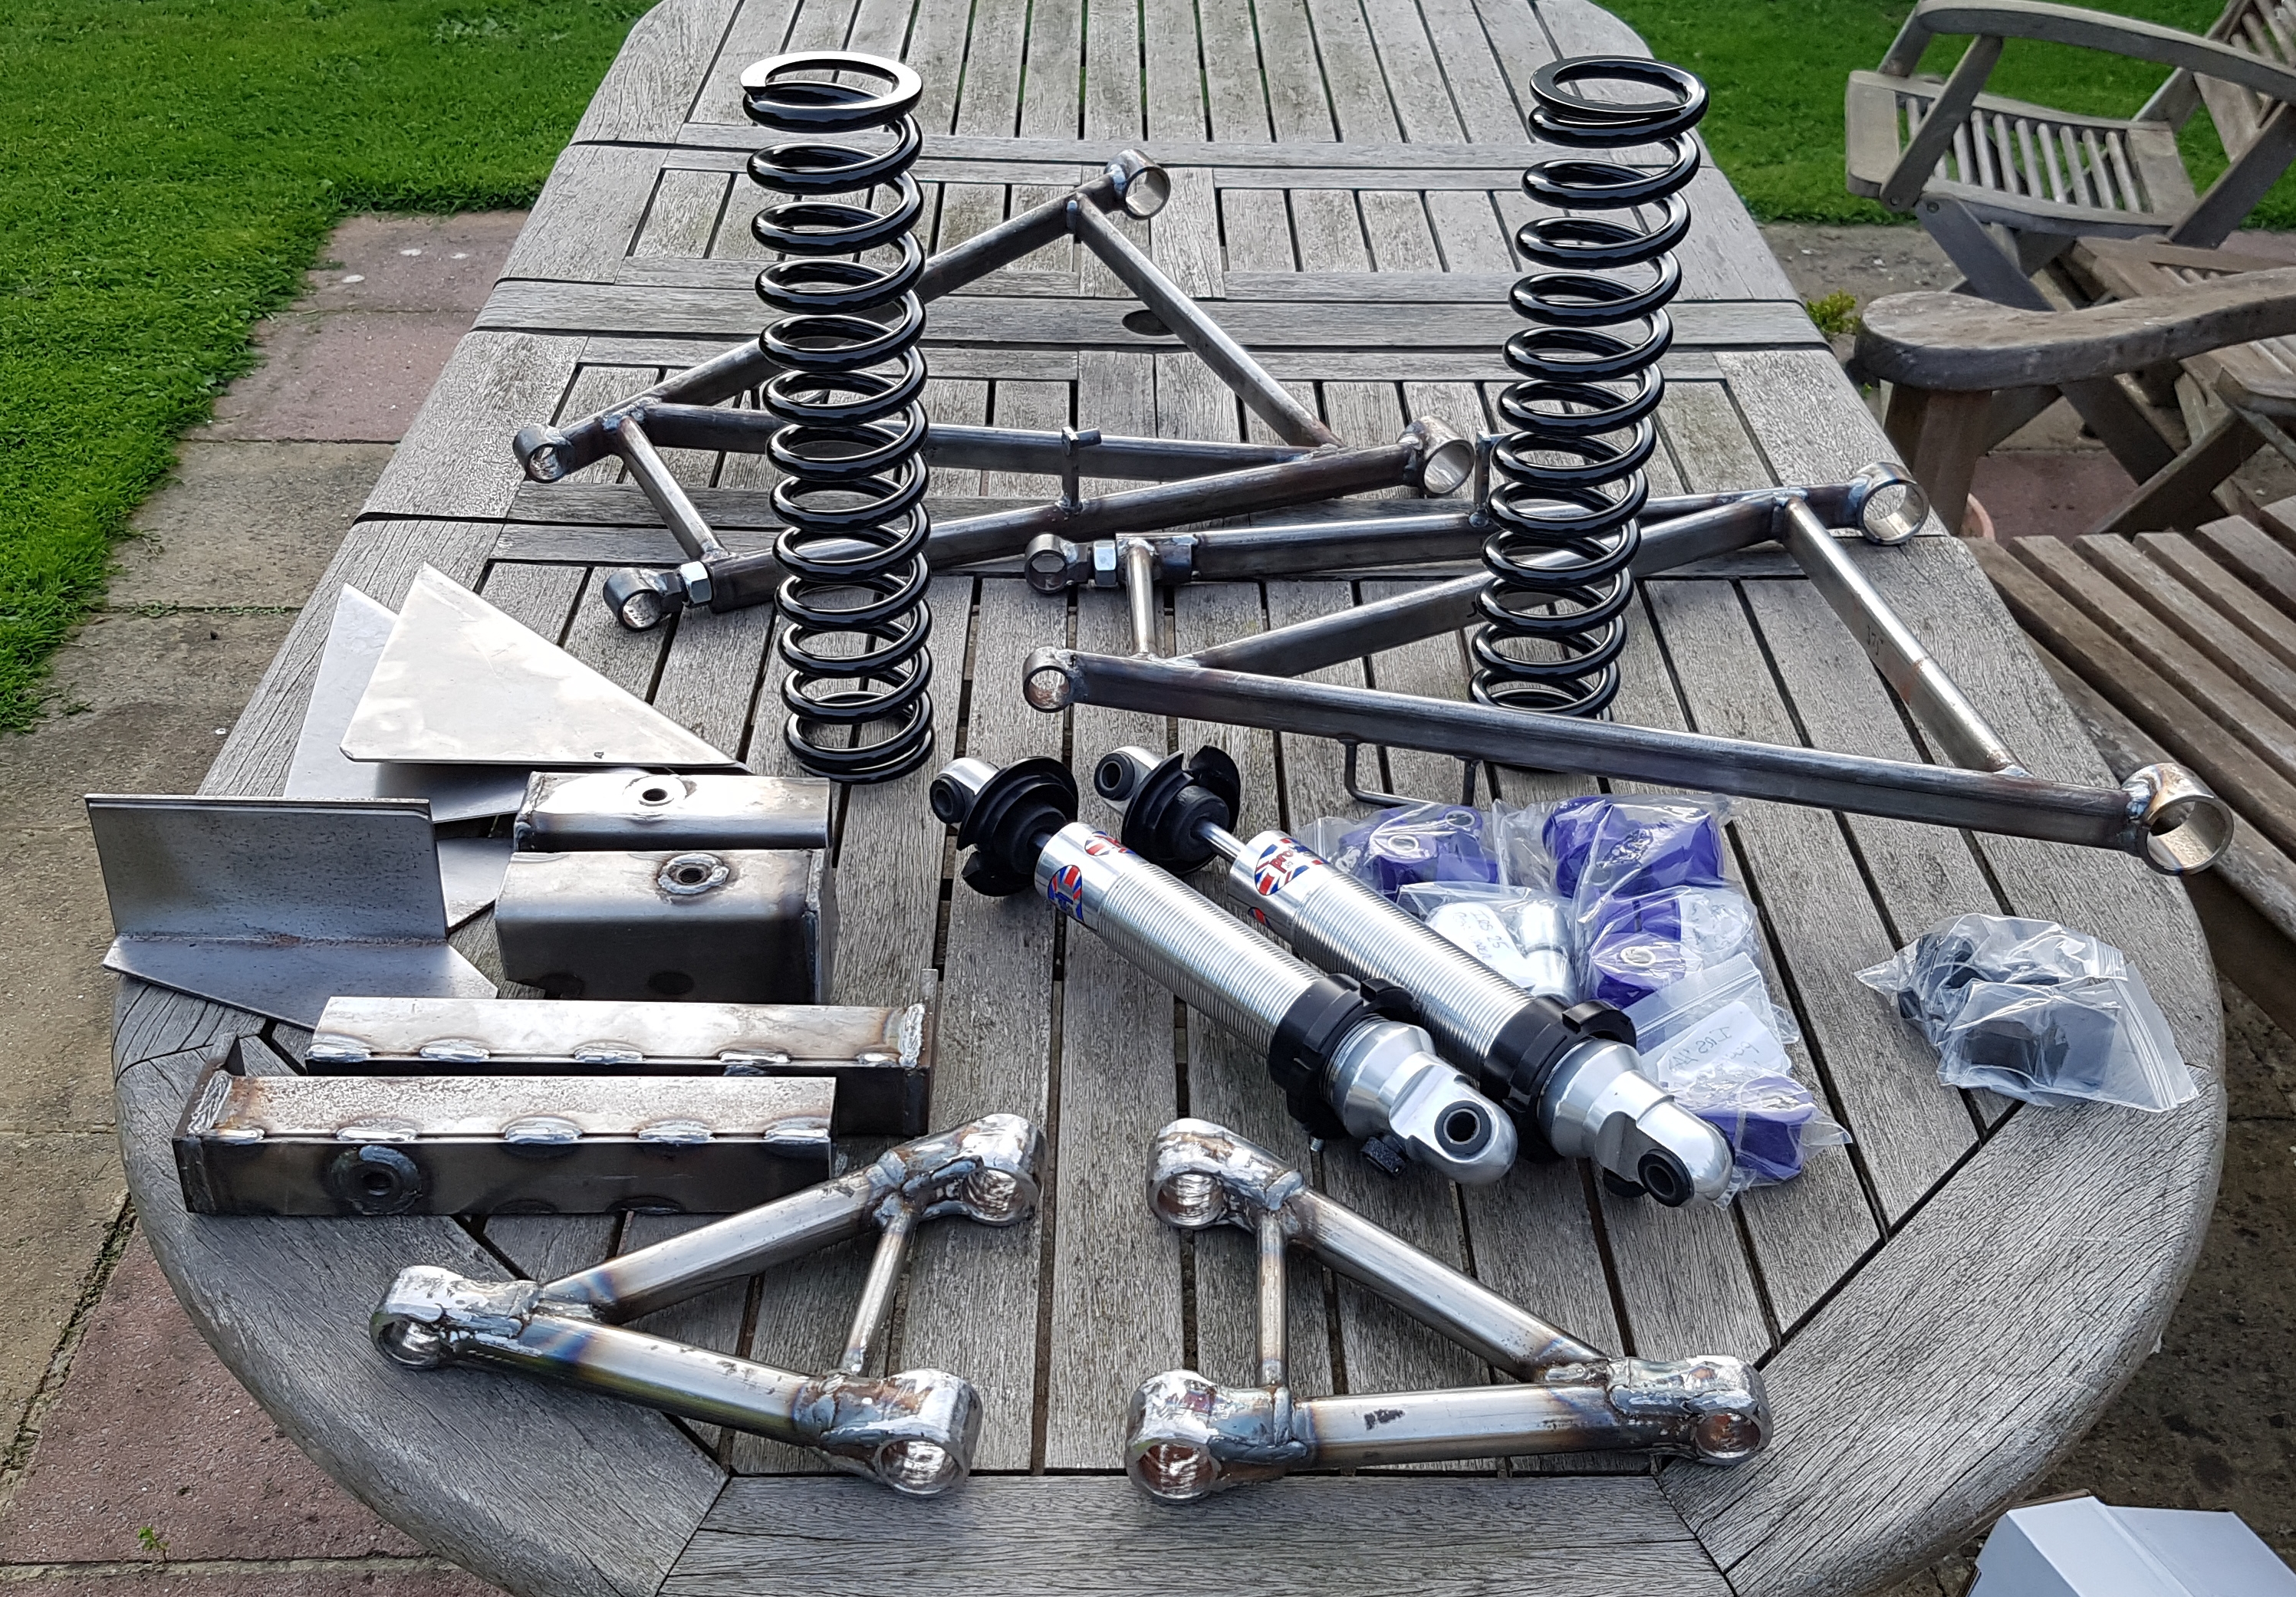
One of those bills was for a whole batch of parts from Marcos Heritage Spares. They supplied the wishbones and shock absorbers for the conversion to Independent Rear Suspension. Having these parts available for accurate measurement means that I can complete the 3D CAD drawings of the entire chassis.

While I do have the basic measurements of an IRS set-up, I have an idea to make some design changes over the original Marcos design. One of the problems is regarding a known weakness were the differential top mount attaches to the chassis cross member. So, I’ll attempt to use Finite Element Analysis (FEA) in Fusion 360 to prove the strength and perfect my design. More on the results in a future update.

Engine problems

First post of the year and it’s already August! Once again the need to earn a living has prevented me getting much time on the car. Added to that a prolonged attack of gout meant the Marcos had to be neglected. The time I did spend was on the engine, back in February, cleaning and leak investigation.

A dirty job

The exterior of the V8 was quite oily, But I think a lot of that is lack of care when filling the oil. Possibly the rear crankshaft oil seal needs replacing as there is evidence of oil in that area too. I spent several hours cleaning it all off so it’s in a much better sate now. I drained the oil and removed the sump too.

The state of the oil rang alarm bells. Yes very black as to be expected but I wasn’t expecting the sticky black sludge at the bottom of the sump. It was still oozing out after 20 minutes looking like something from a cheap 50s horror film!

With the engine on its stand I cleaned it up, but found that it won’t turn-over. It seems to be locked solid, what to do? Maybe this engine wasn’t such a good deal after all…

After that I wasn’t able to do anymore on the car due to a very heavy work load and an inability to walk!

Oilslick

While I recovered I didn’t realise that the bucket containing the old engine oil had a leak, so imagine my delight to be greeted with a shiny black garage floor last week. It took hours to clean up, what a drag…

While I was immobile I did manage to start the design for the chassis modifications. More on that next time.

Ian

Engine out

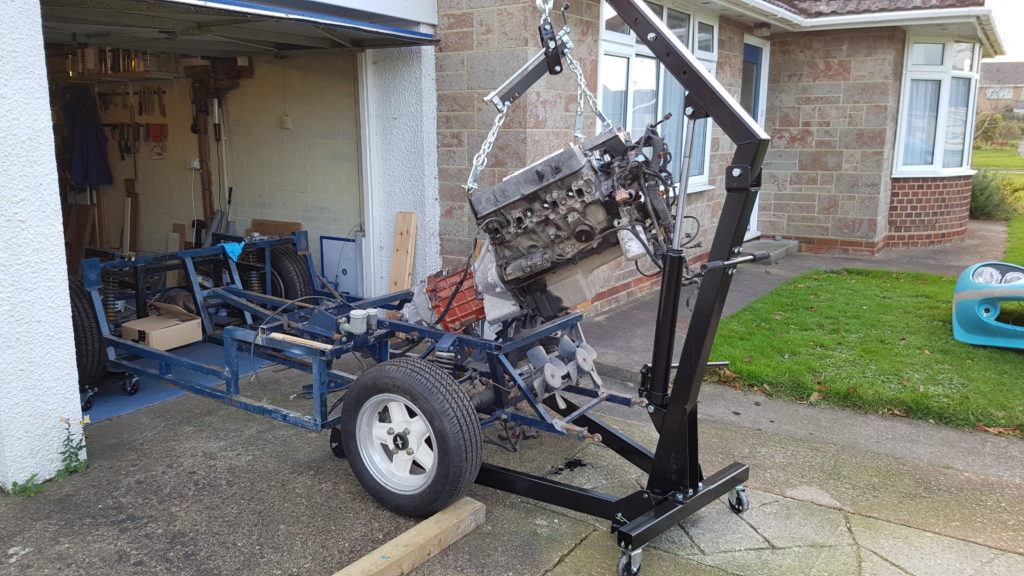
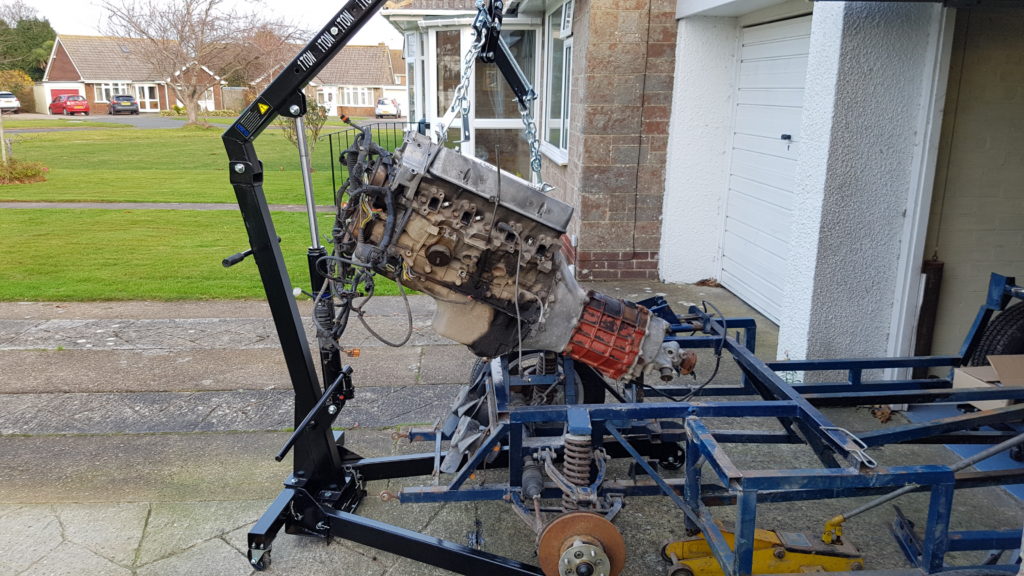
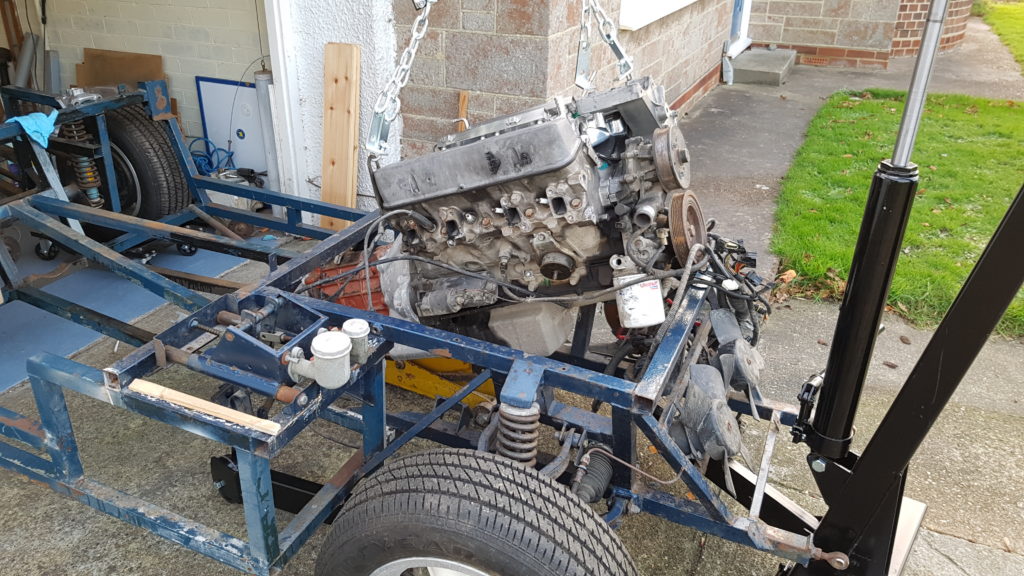
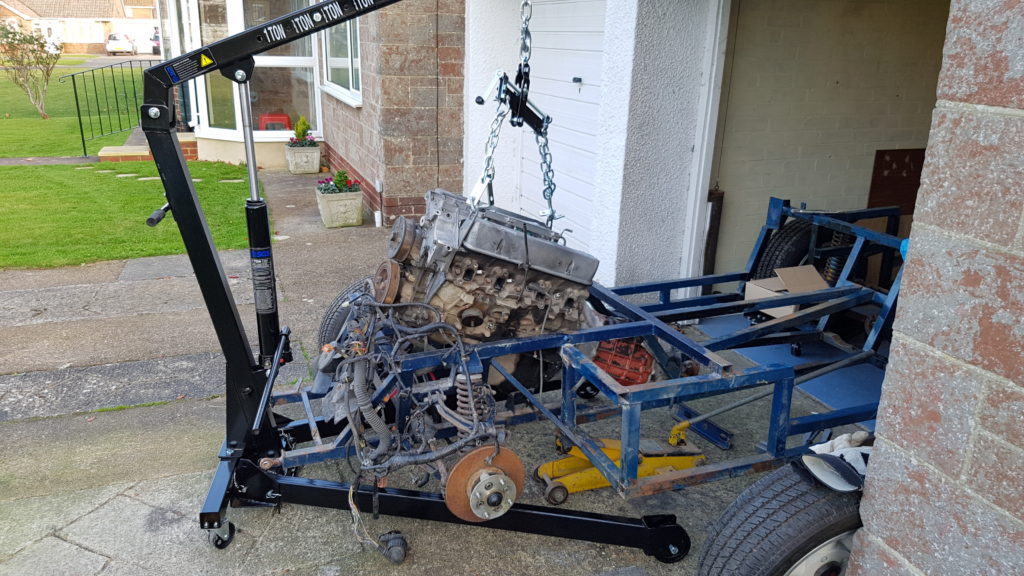
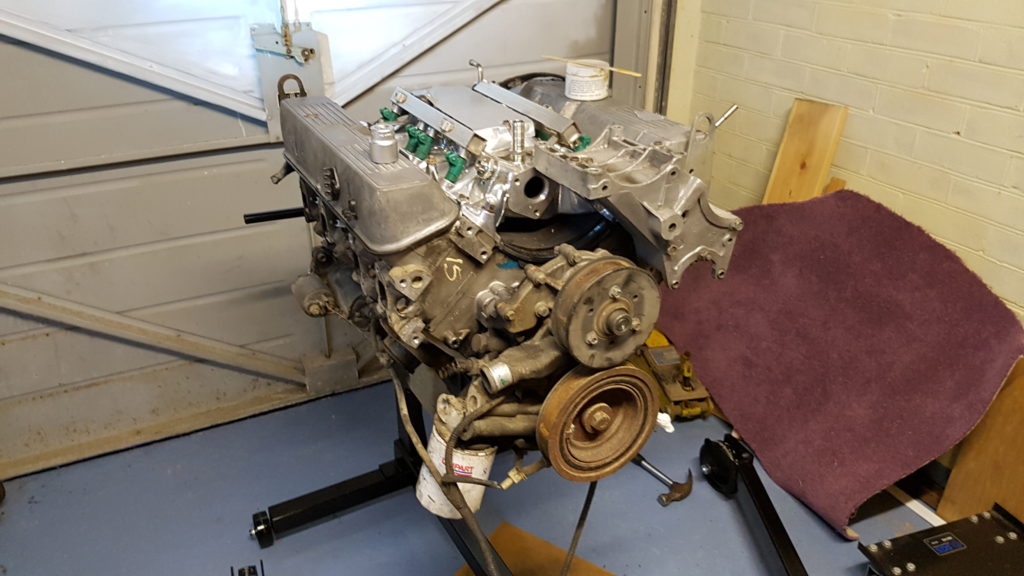
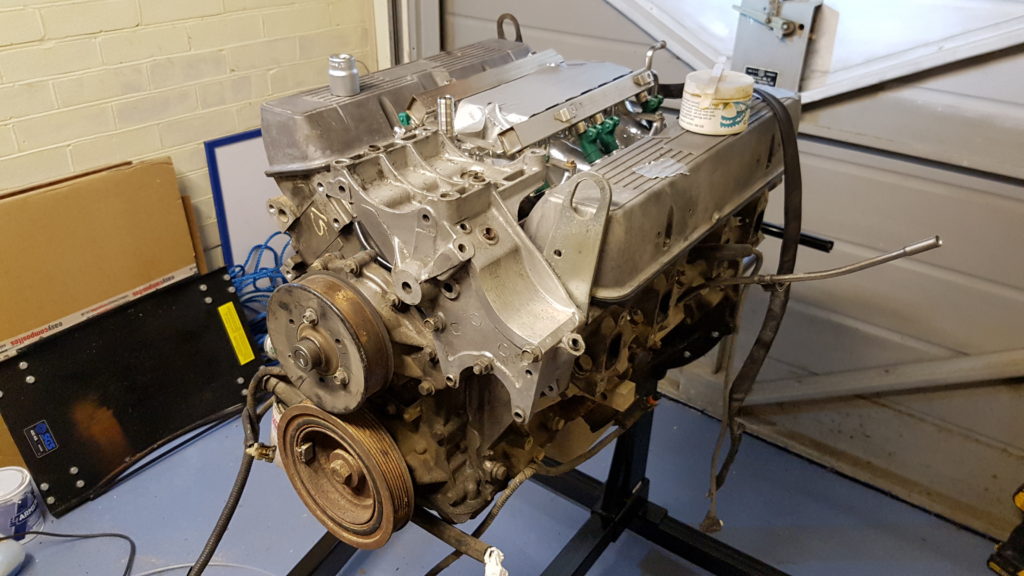
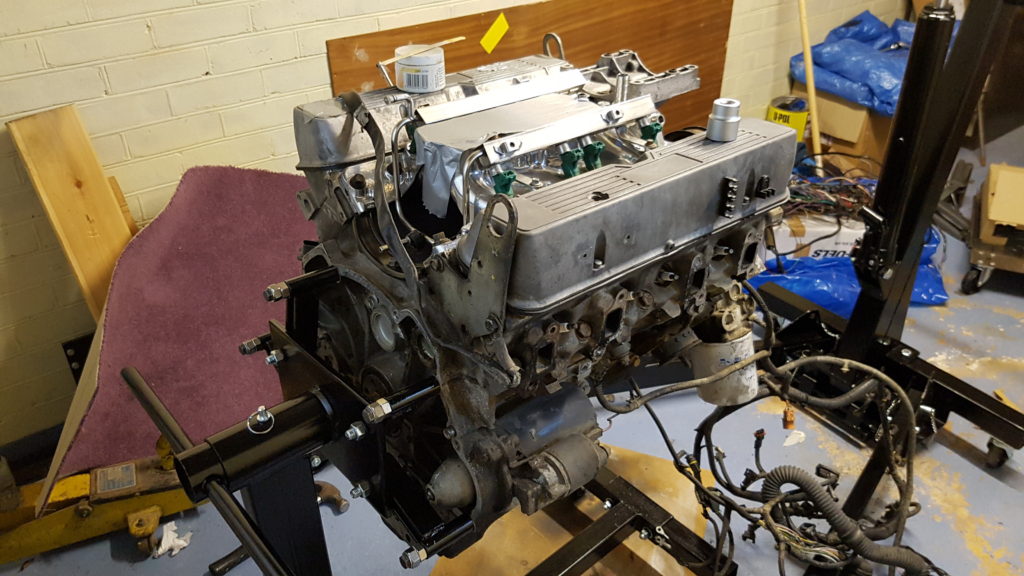
A long day on the Mantula yesterday. Engine out and on its stand ready for cleaning, painting and modification.

I was using the new Engine Crane which I bought from SGS Engineering. In the past I’ve hired engine cranes, but this is more convenient as it was available while I waited for a dry day.

20161126_144327

The load lever makes it so much easier to set the engine at the best angle to clear the chassis rails, recommended.

20161126_144310

20161126_142735

20161126_142725

Engine Stand

Mounting the engine on the stand was the easy part. Unfortunately I discovered a broken bell-housing bolt. No problem I thought just use an ‘easy-out’ or stud extractor.  So, centre punch the broken bolt head, drill out the centre and insert the extractor. Wind it in counterclockwise then watch in horror as it breaks off! Leaving a useless piece of hardened steel stuck in the engine block.

20161126_173744

20161126_173755

20161126_173810

Super sump

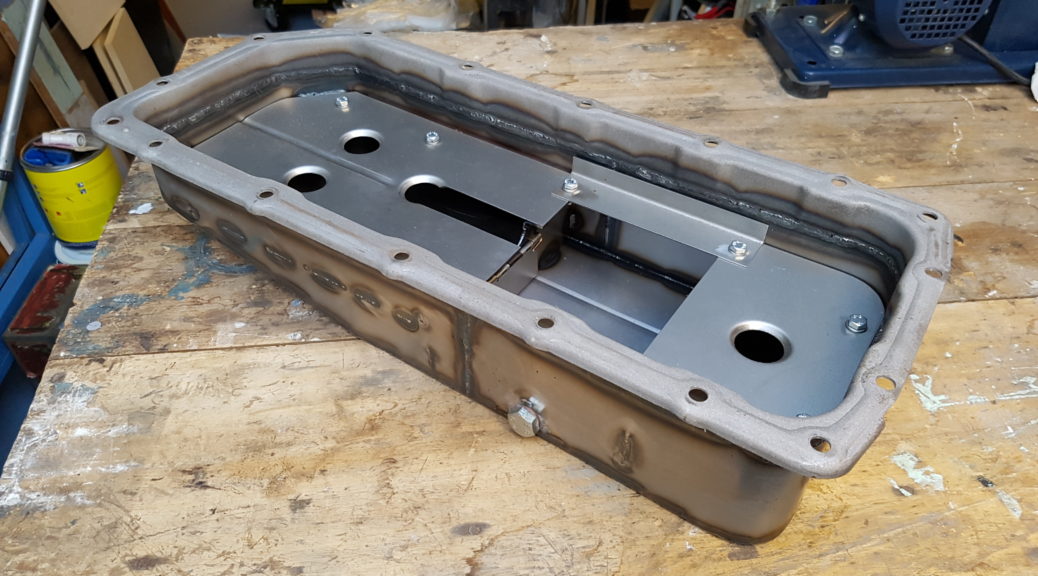
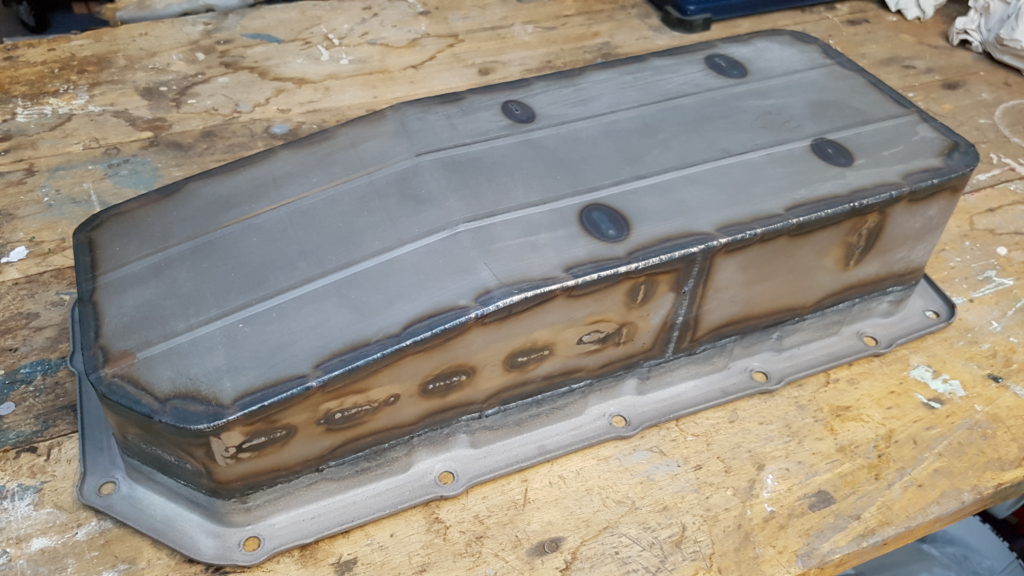
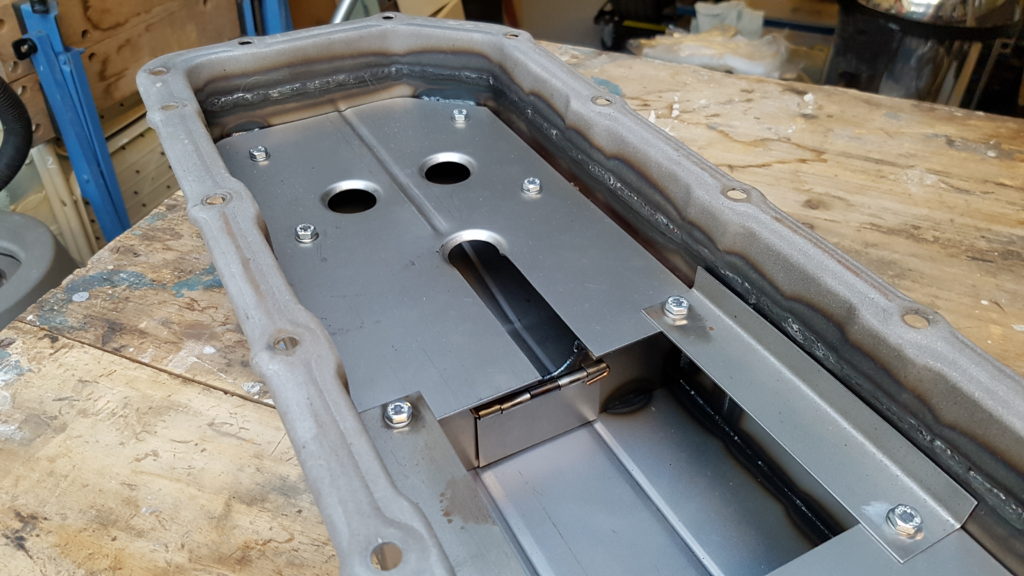
It’s always a pleasure to support a real craftsman. Someone who always puts all of their expertise into their work. Peter Mulberry of Mulfab is one of those people. I found his company while looking  for ideas for a new fuel tank on the internet. The pictures on the Mulfab website are really worth looking at.

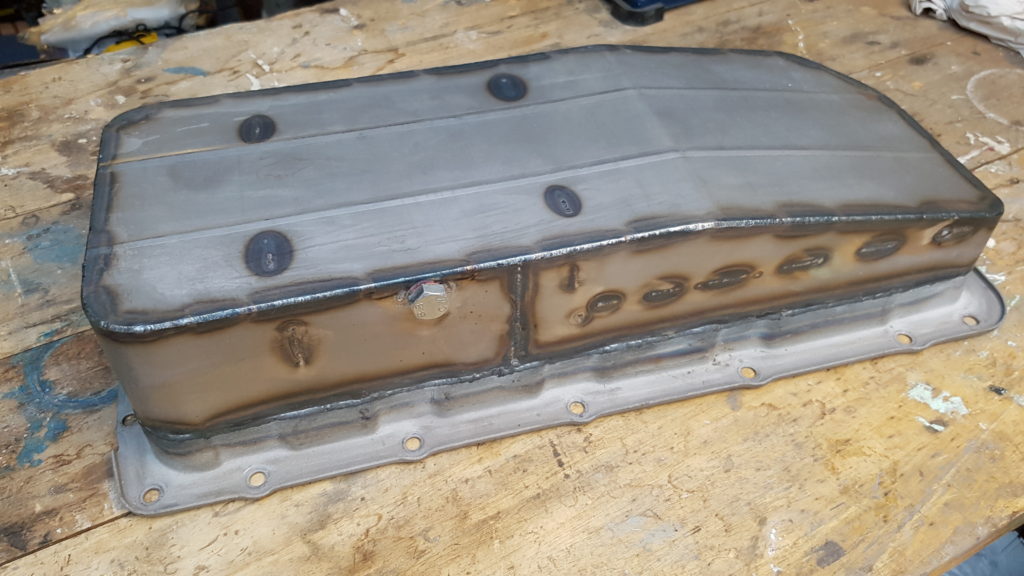
The reason for changing the sump is that the Range Rover V8 uses an extra deep cast aluminium item. This is so deep that the static ground clearance is about 50 mm. It wouldn’t survive the first test drive! I needed a suitable replacement and I couldn’t use any old Rover V8 sump because my engine has the crank-driven oil pump and therefore a different flange shape at the front.

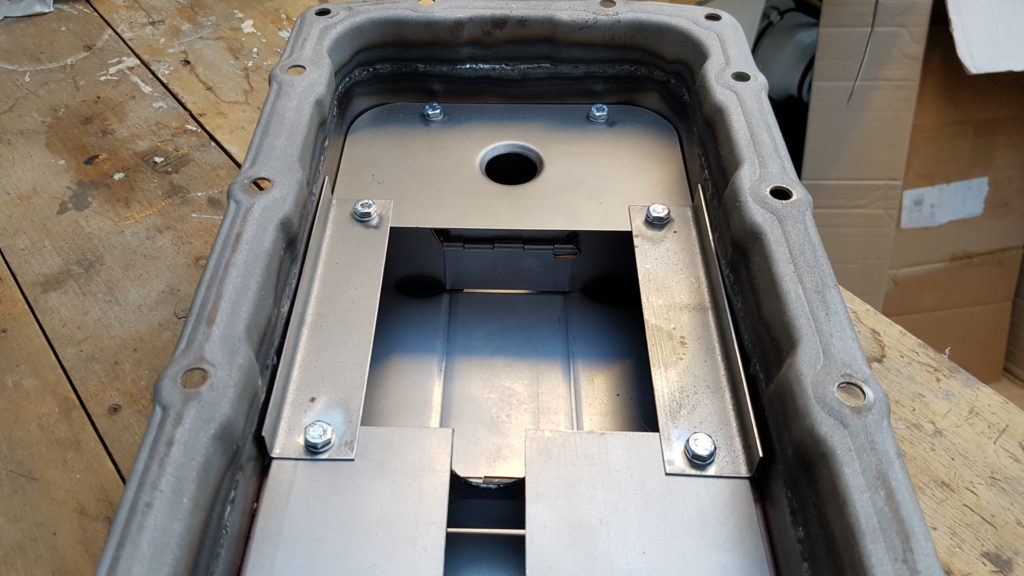
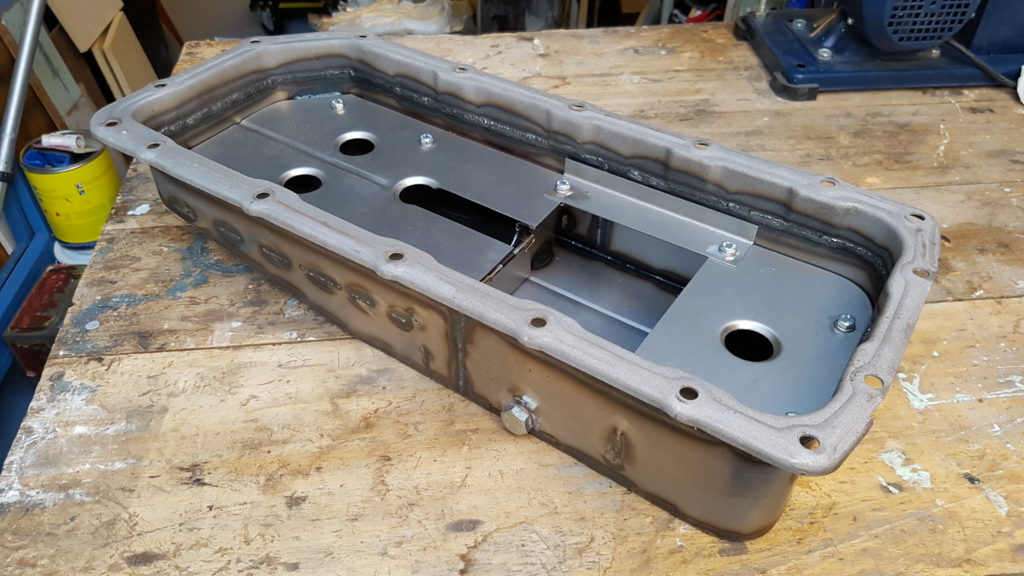
Here it is, made to my requirements, but designed entirely by Peter. I simply told him that when installed it should project no lower than the bottom of the bell housing. He did the rest. It includes two hinged flaps to prevent oil surge which could be a problem with a full length design. Not cheap, but worth every penny. Let’s hope it will survive the Isle of Wight’s bumpy roads…

20161025_172641

20161025_172613

20161025_172603

20161025_172552

20161025_172728

Wooden chassis Mantula!

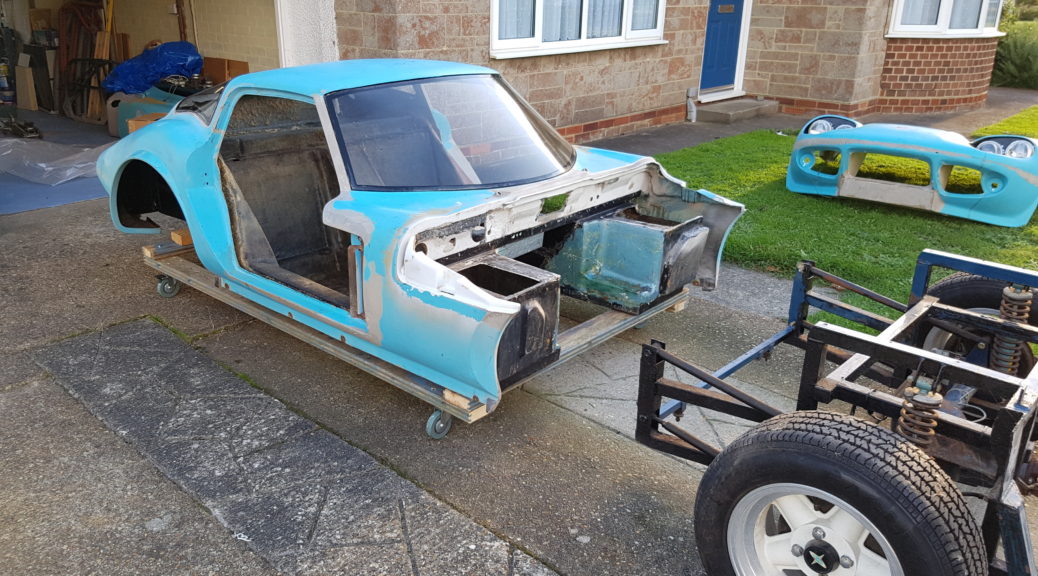
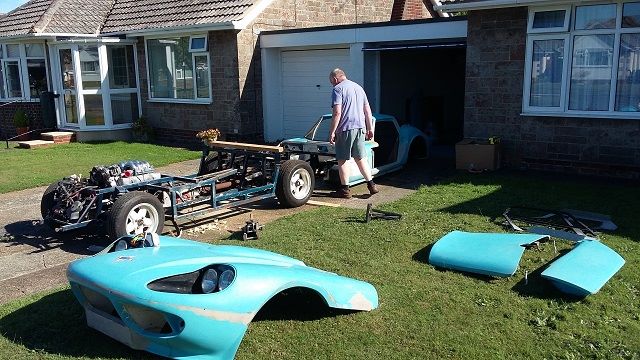
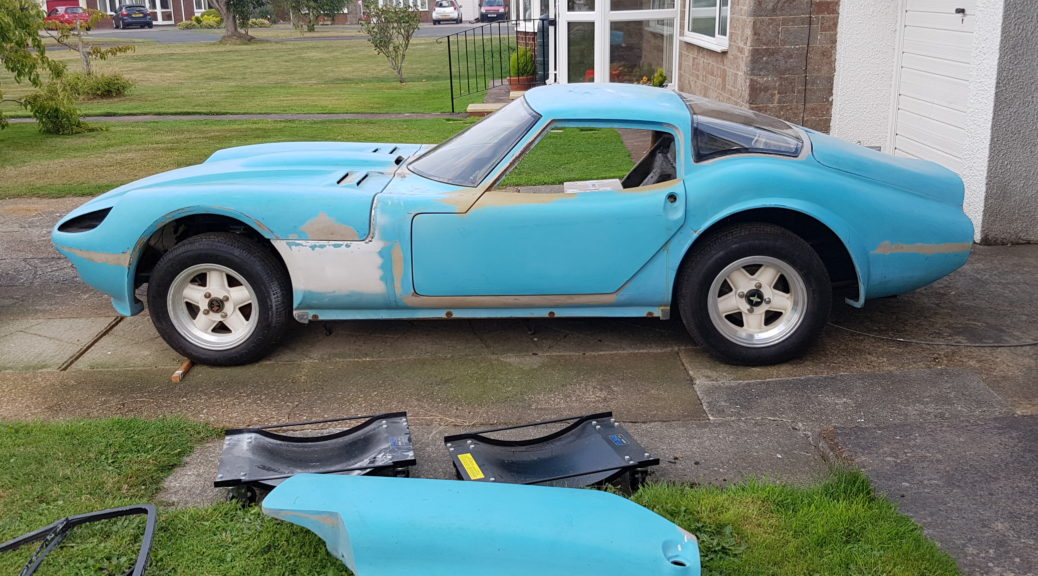
No not really. Yesterday I built a cradle for the body so that I can keep it on the front drive wrapped in tarpaulin. It’s got some large castor wheels so  I can shunt it around the drive when I need to move the chassis.

The original idea was to suspend the body shell from the garage roof, but that proved to be impractical as it would limit my working space too much

For now the cradle is in the back garden. Hopefully put it into use next weekend.

Update 2016-10-08

The body was moved onto the cradle today with the help of my neighbour, thanks Nick! It works well, very easy to move the body around.

Ian

A naked Marcos

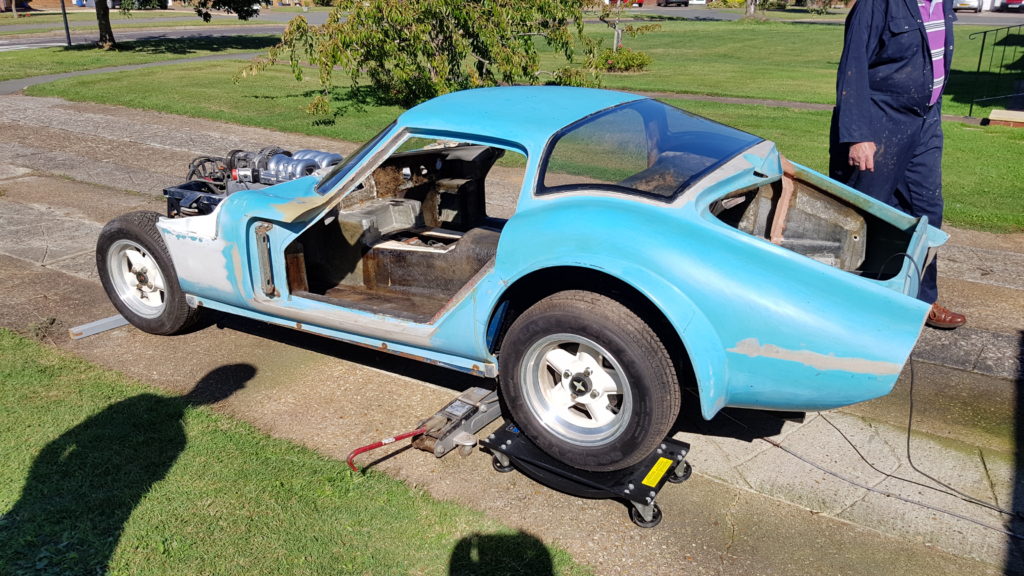
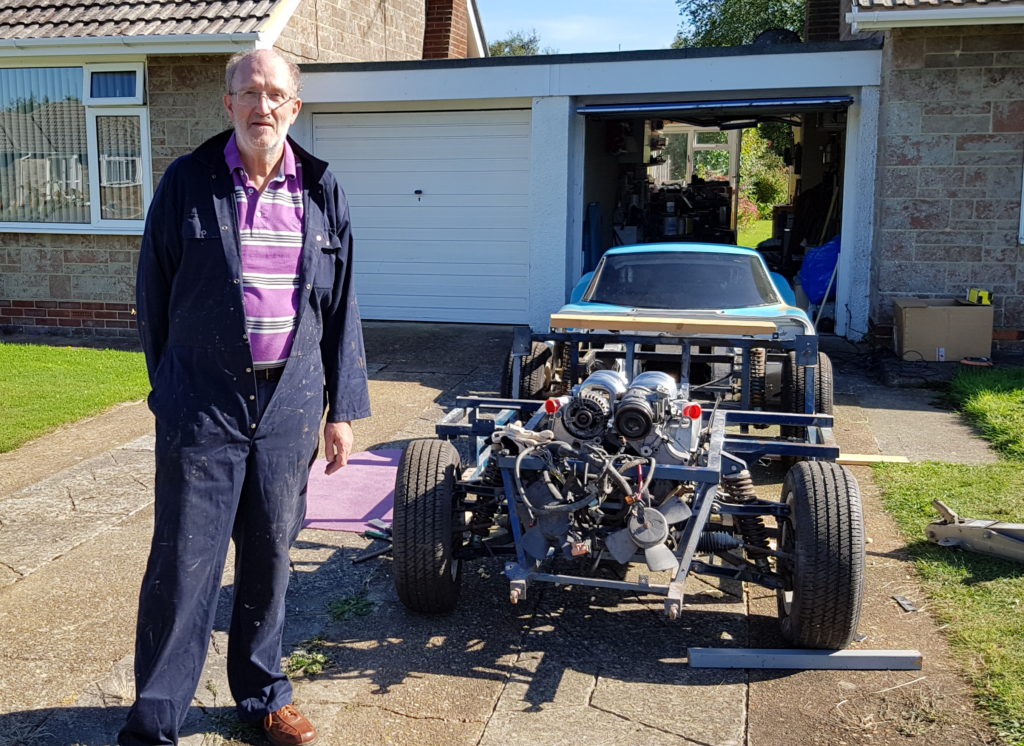
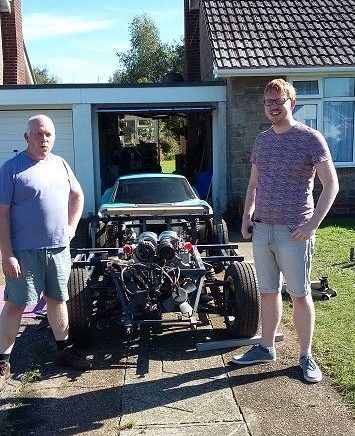
Last Sunday was a great day. Hard work but really productive. With the help of my friend, local ex-Marcos owner Derek Atkins and my son Dan we got the body off after about one and a half hours of effort.

20160911_143246

While the body was clearly no longer attached to the chassis it wasn’t at all easy to move.  It would shift about 30mm upwards then go no further. My first guess was the foam rubber strips were preventing the movement. Jacking the car up from the seat pans caused some alarming creaking but little extra movement.

Derek noticed the problem, the foot-well speaker enclosures, which I thought had been fully removed, still had enough remaining GRP and plywood to foul the chassis on the near side. The Dremel made quick work of that and the body was able to move.

Once free it was quite simple to lift the rear and pull it away. The bonded rear screen certainly helps keep the whole body construction in one piece. Without that we would have needed a couple more helpers.

Is that all there is?

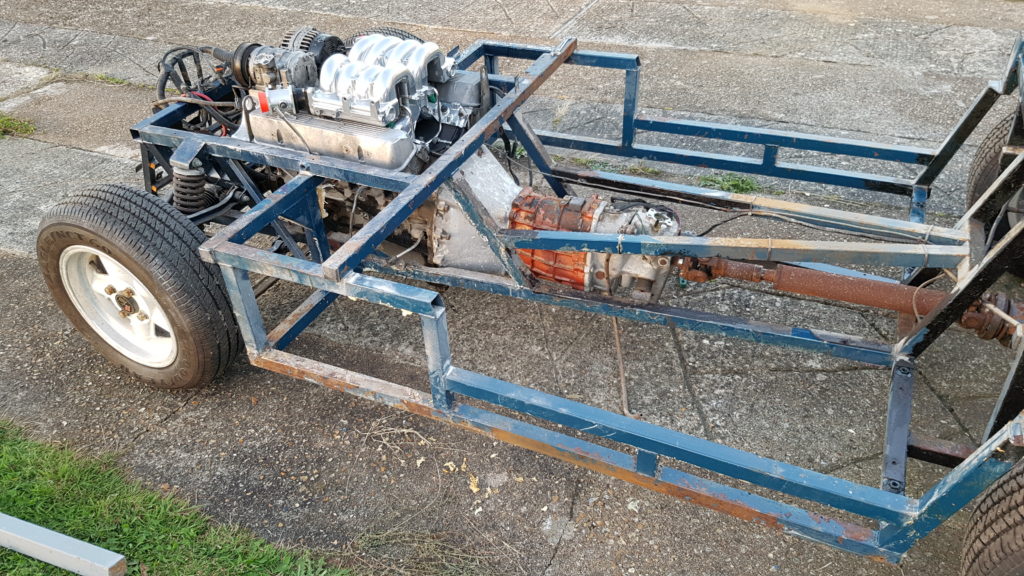
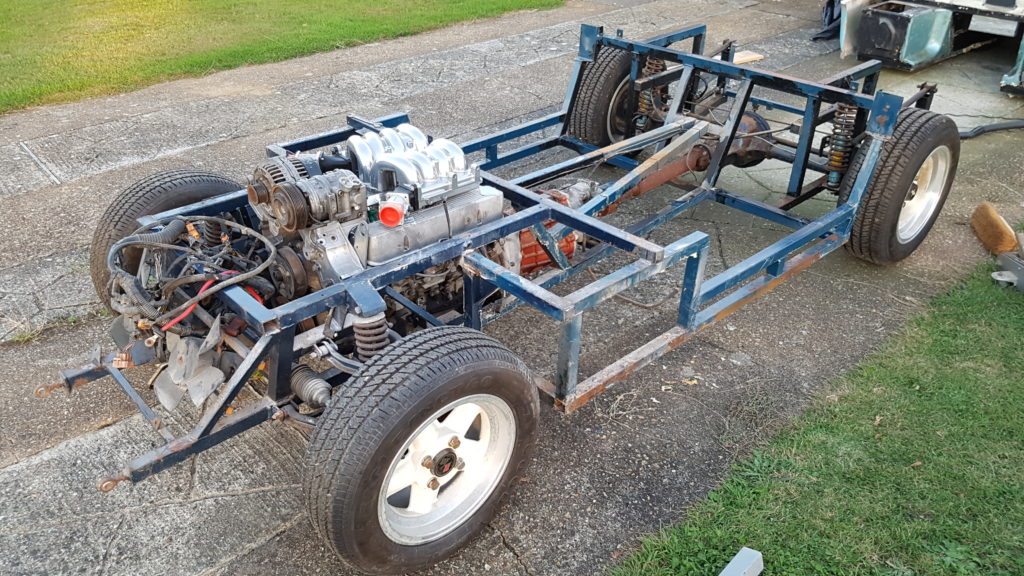
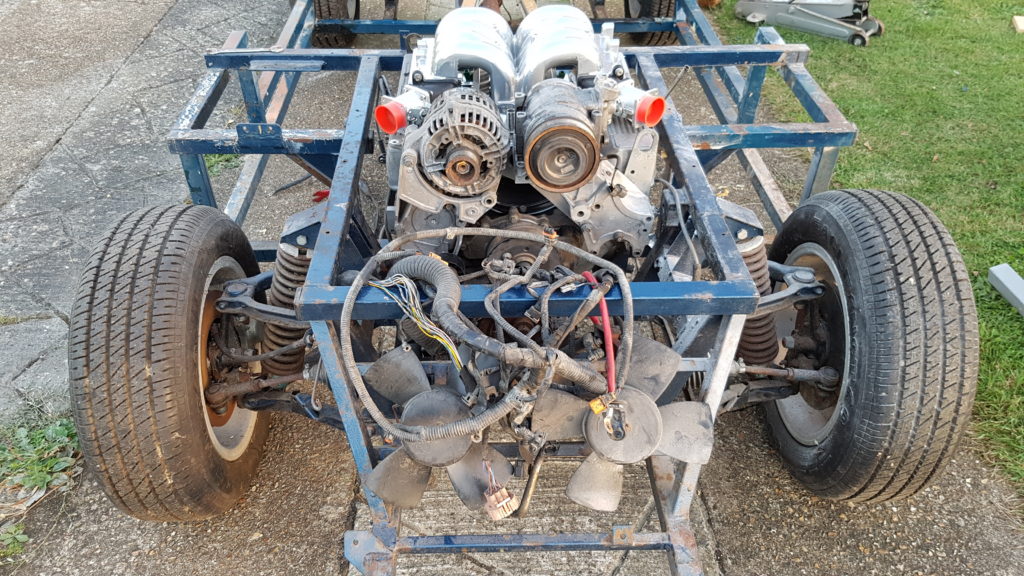
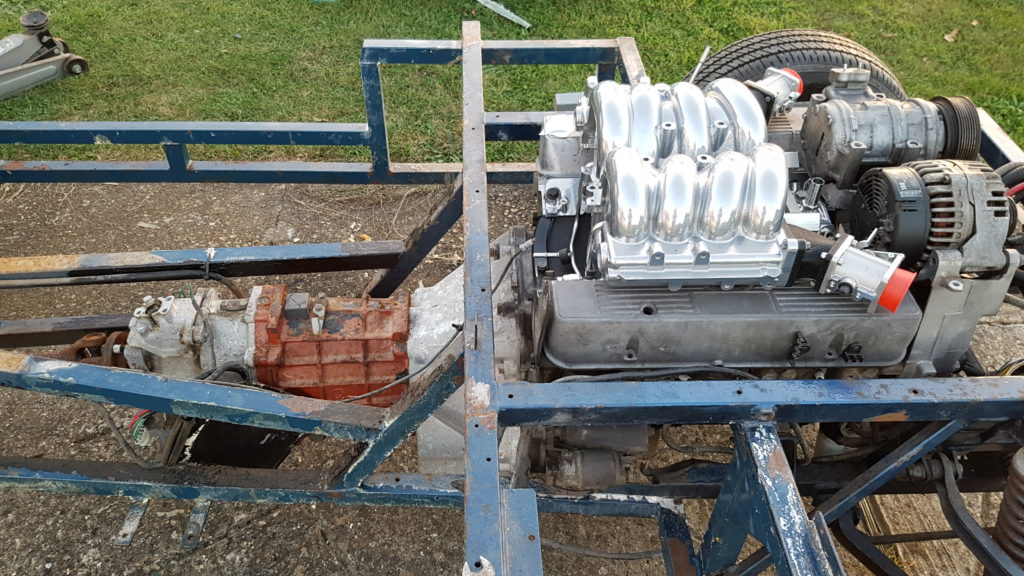
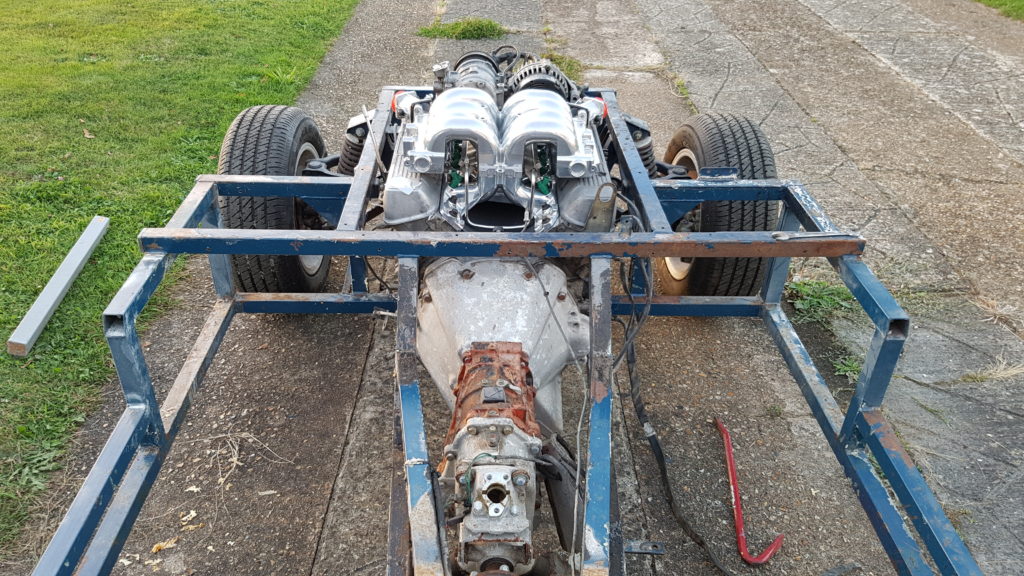
I’ve always known what a Marcos chassis looks like, but to see it exposed like this was quite a shock. It just seems so insubstantial! A roll over bar may be a priority, but nothing could be done for side impact. I’m told that it’s not particularly stiff for a sports car chassis so there’s definitely some improvements to be made on that front.

20160911_190114
A naked Mantula

I would remove the engine next, but I have nowhere to put it right now. First I have to get the body tub safely out of the way. Then the chassis strip-down can start. While the chassis is away I’ll work on the engine.

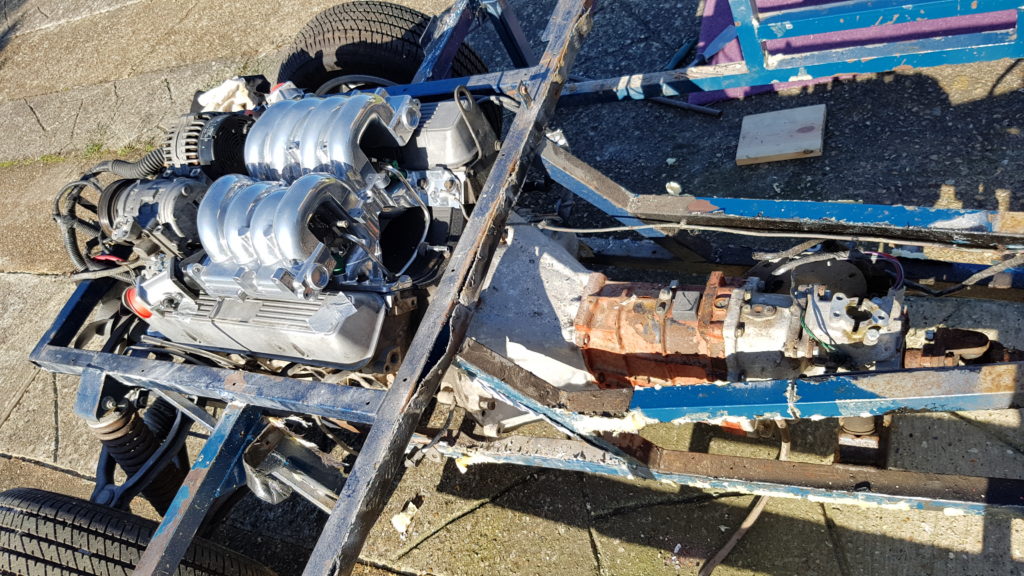
After I took these photos I spent the rest of the day cleaning up the dirty chassis rails and removing  lot of the flaking old powder-coat. It’s really not as bad as it looks considering the powder coat was flaking off almost as soon as I started the original build 32 years ago.

From my first checks every chassis tube looks sound, with only light pitting in the worst places.

20160911_163433

20160911_190230

20160911_190215

20160911_190206

20160911_190147

Thanks team!

Thanks for your help Derek
Thanks for your help Derek!
Thanks Dan
Thanks to Dan too.

Back to basics

Back in 1984 I had many ideas on how to ‘improve’ various design features of the Mantula. I spent many hours on redesigning areas such as the ventilation system, dashboard, the battery box, pedal box cover and filling under-body cavities to prevent chassis corrosion.

Now on reflection I think I could have done so much better, it all had to go. Actually the dash board and stronger supporting structure was quite good, but again I now know how to do it the professional way.  Following a wonderful touring holiday in Canada, the last week of August has mainly involved the final parts of the strip-down. Ripping out all of those old modifications. It was a horrible job cutting out old GRP in confined spaces with a Dremel. Itchy work in such hot sticky  weather!

Now it’s clean and ready for the next stage. Before the body comes off there’s some measuring to be done for the new components that I’ll be designing. Expect to see lots of carbon fibre this time…

Ian

Body off soon…

Just a quick update this time. The body has started to move, but I’m taking it slowly. So far it shifts about 3 mm then stops. I think the foam strips between the body and chassis are working like very stubborn glue. Oh that and the expanding foam which I prefer not to talk about – I thought it would be a good idea for the longevity of the chassis side rails to use expanding foam to fill the cavity. Its done a good job to exclude moisture but is hard work to remove. 3 hours per side so far and still more to do!

Honestly I’m not complaining its better than DIY and gardening…

The 35 year build