Category Archives: Preparation

Before the build begins

Systems design

Progress has been very slow over the past few weeks. Travelling away for work most weeks in Paris and talking at a conference in Bristol means that come the weekends when I’ve finished the backlog of DIY jobs there’s very little time left for the Mantula.  🙁

However there’s always a chance to do something. When I’m away from home I can design the systems layout and do a fair amount of research too.

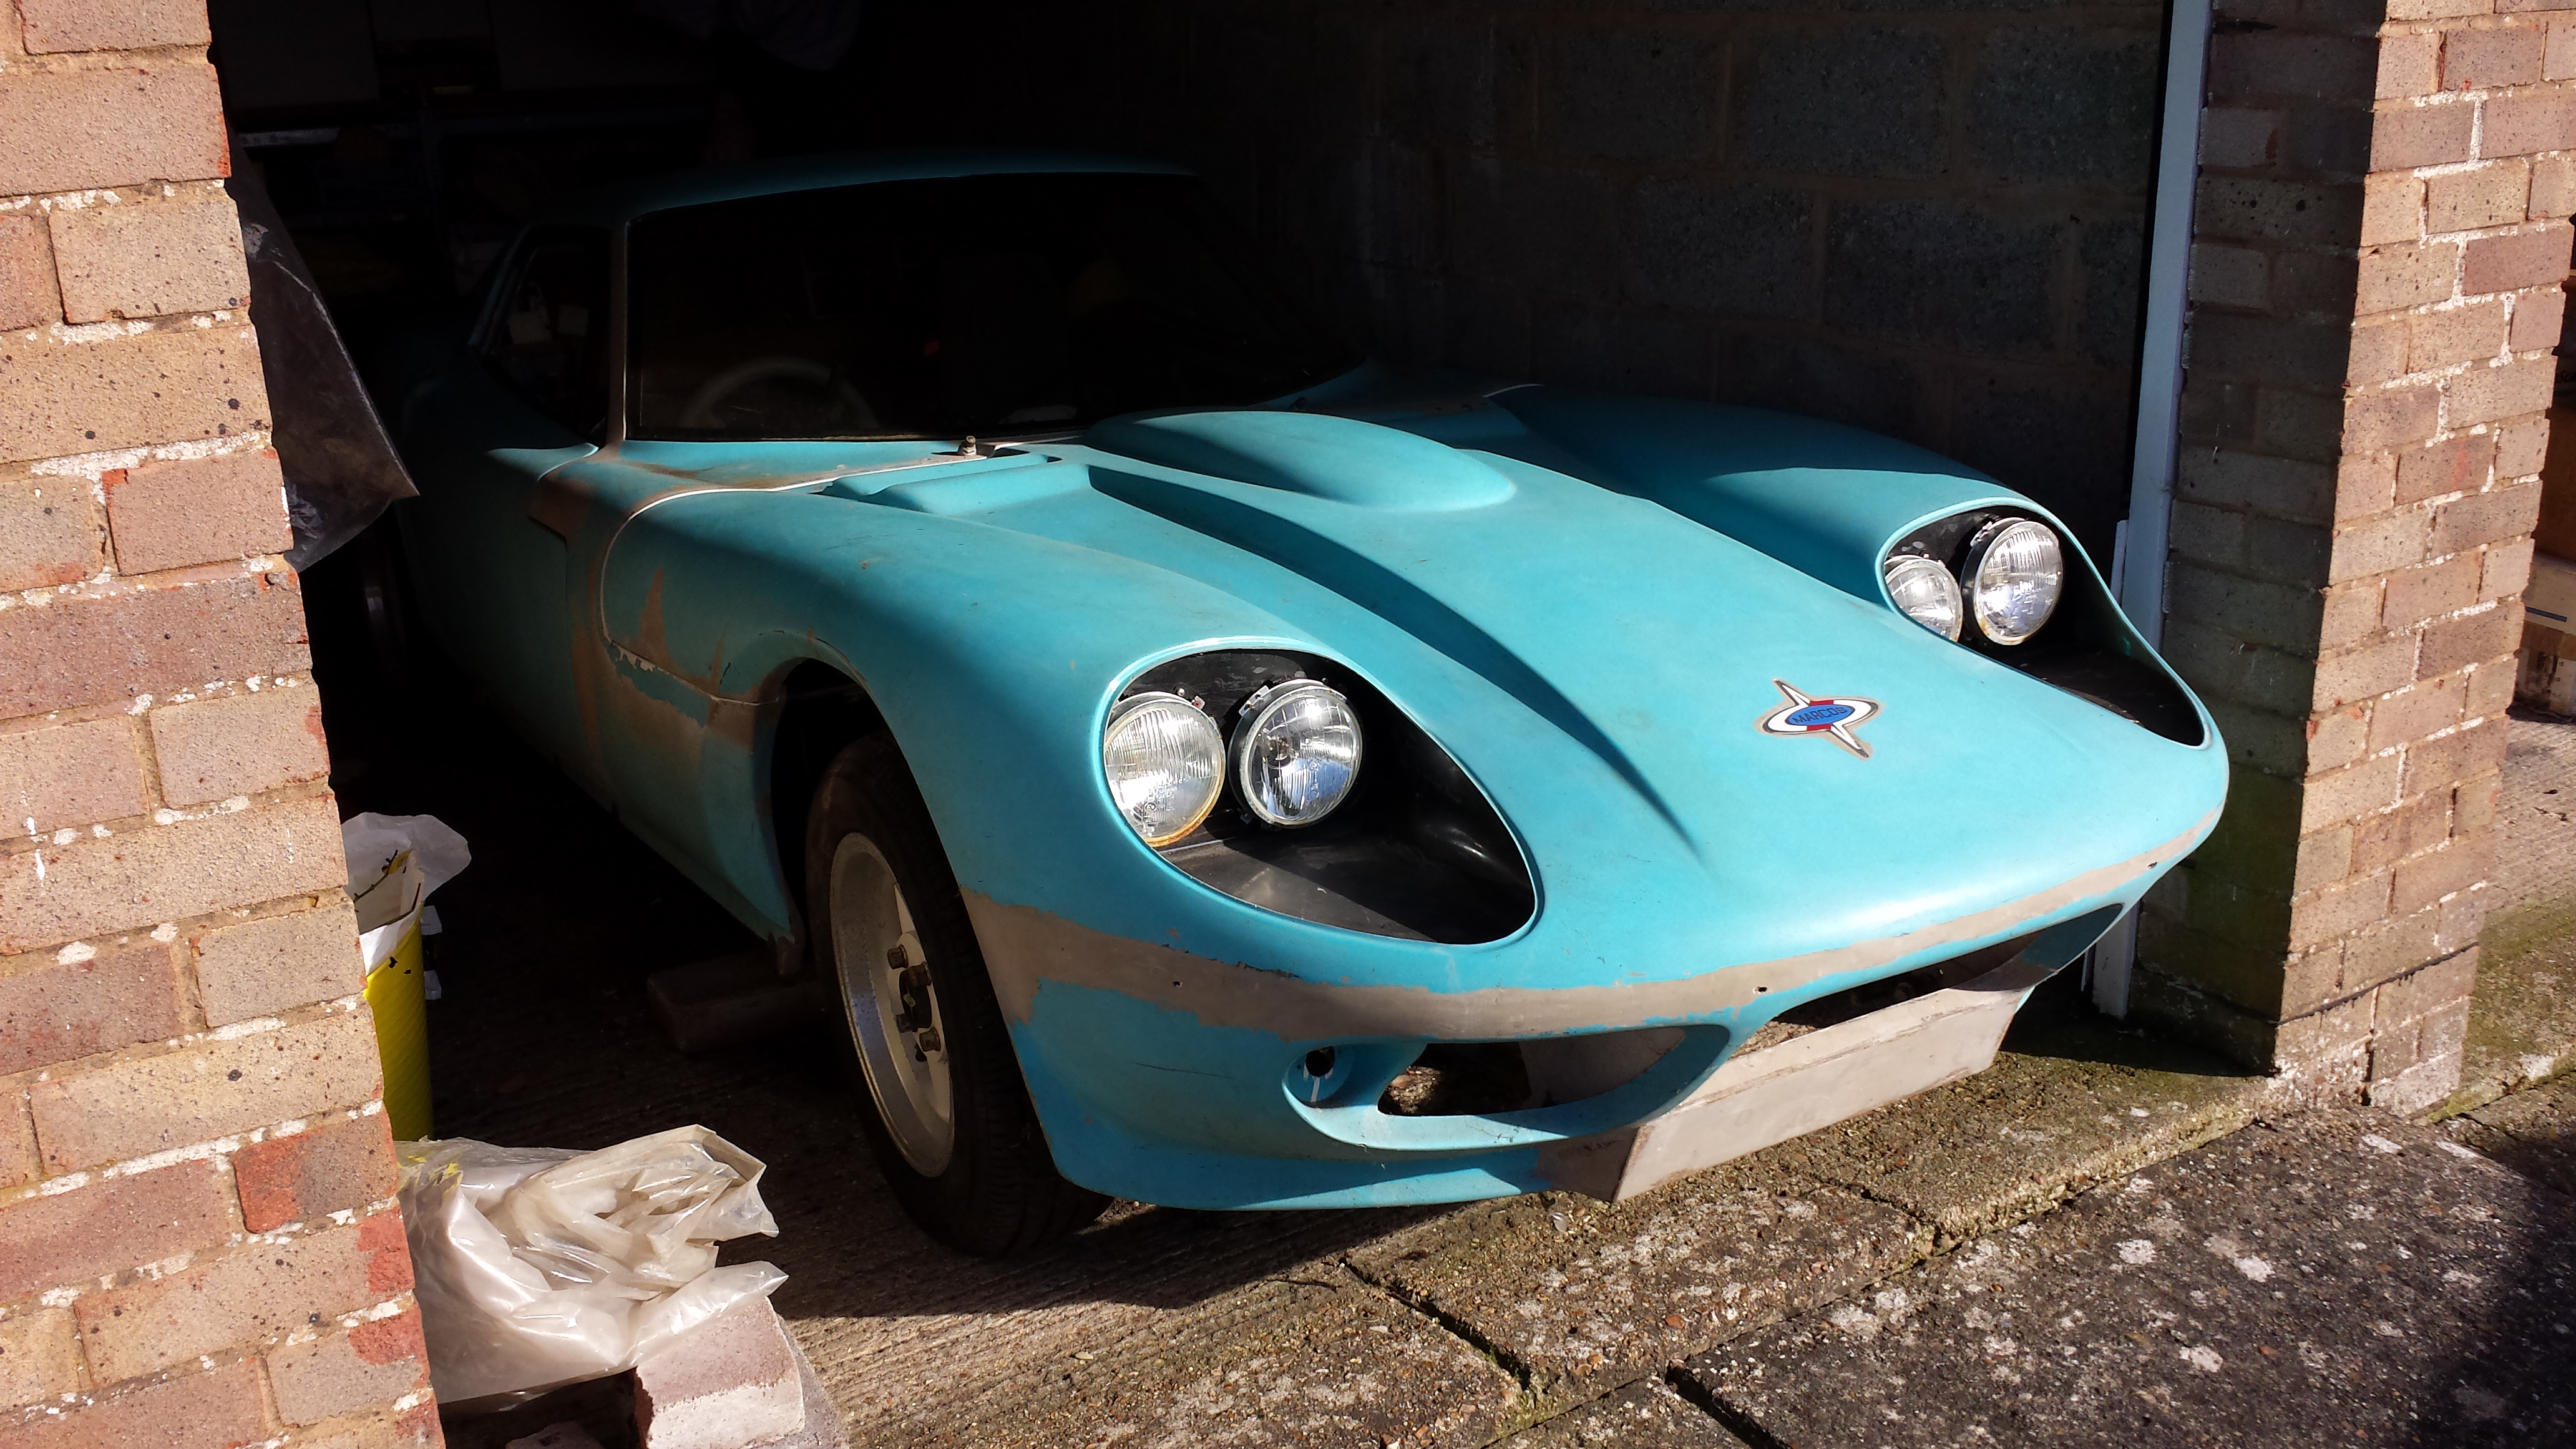
There is an immense urge to strip the whole car down and get the really exciting big jobs done. IRS conversion for example. But I’m forcing myself to take it slowly and plan everything properly now while I can. You see, the old Rover 3.5 V8 installation was quite simple; no oil cooler, a/c or fuel injection.

The really complex part now is the routeing of all of the pipework, ducting and wiring loom branches. To say that the original Range Rover engine installation is busy is a major understatement. I will have to find alternative or modified locations for all of this:

  • Plumbing for the oil cooler,
  • Plumbing for the air-conditioning,
  • Plumbing for the engine coolant system,
  • Throttle linkages to the new Jenvey throttle bodies.
  • Twin ducts for the engine air intakes,
  • Single, large-bore air intake  for the air-conditioning,
  • New engine wiring loom,
  • New engine management system,
  • New dual-circuit brake, clutch and throttle layout along with a new pedal carriage and pedal box/housing.

What should I do first?

For one very simple reason I’ve chosen the air-conditioning system as my first real design task. The reason? Well, it’s the only part of the engine bay that’s easy to work on right now! But it’s also a real challenge too. I want to prove that it is possible to fit a really worthwhile climate control system in a Marcos.

Most of the design effort will go into the air-con housing that will sit over the passenger foot well. This will contain the blower fan, evaporator and heater matrix. There will also be servo controlled flaps for hot/cold air blend and fresh/recycled air.

I will be following conventional a/c system configuration where all of the incoming fresh or recycled air will pass through the evaporator. This gives the benefit of working as a dehumidifier even if the air has to also pass through heater.

So far I have the blower with the evaporator due to arrive tomorrow. Both parts have been supplied by Adam at T7 Designs – excellent service  and a pleasure to do business with.

For the a/c housing box I will be trying something new, at least for me. It’s going to be a carbon fibre part using resin infusion. If you haven’t seen this process yet here’s a video by the helpful people at Easy Composites…

Before I can get there of course, I need to create a mould and before that a ‘plug’. I’ll post some pictures of my progress as I go. So far I have just cut out one side of the box from MDF. The top of the plug box will be built up from expanded foam so that it conforms to the inside shape of the bonnet. This will be smoothed out using polyester filler to give the final shape. After that it needs a perfect glossy finish which is built up using Pattern Coat Primer followed by Pattern-Coat Hi Gloss finish.

After that I will create the three part mould (another long process). Finally I can create the actual part in beautiful carbon fibre. A lot of work for a simple box, sure, but, if it all works well maybe I’ll put it into production.

Other parts on my Carbon Fibre list are:

  • Pedal Box,
  • Inner front wings,
  • Inlet manifolds,
  • Fresh air inlet duct,
  • Parts of the new dashboard,
  • Battery box
  • Bonnet hinge/support structure (you wouldn’t believe how rough this is, a real botched job on my car).

The strip-down continues

I know that I promised something more interesting at the end of my last post, but I can’t do better than this…

Interior sound-deadening

During the first build, I really thought that I was close to completion. I had the engine running and most systems operating correctly. So I decided to install the sound deadening felt. Half of it was done with EvoStick contact adhesive, but that didn’t seem to work too well. So, on the advice of one of my ‘expert’ friends I used some nasty very sticky black mastic.  That was perhaps one of the last jobs I did on the car before it was mothballed for many, many years.

Back to the present and that old felt is in a very bad way. It made a perfect nest for mice. The evidence of several generations of small rodents was easy to see. They were very choosy about where the best nesting material was to be found, so the end of the passenger footwell and the inside of the passenger door were shredded. The other problem was the smell; that damp storage environment has left an unpleasant stale, mildew aroma inside the car.

It was obvious that all of the old felt had to go. The first important point is that you should wear a dust mask for this job. The mould spores and dust particles should not be inhaled. It only took a few minutes to strip out the bulk of the felt, but for each part I was left with a shaggy fur lining to the interior. The parts that had been attached with contact adhesive came off quite easily, but those that had been glued with mastic simply wouldn’t move. After trying a few things the only viable way was to soak the remaining areas with white spirit. Wait for a while then scrape it off with a blunt wallpaper remover. It is a nasty, messy and very smelly job. The worst part is that after several evenings of hard labour I’m still not finished.

The old EvoStick wasn’t eager to be chipped off either, but I was lucky to find some 3M Adhesive Cleaner in our local yacht chandlers. This makes the old glue go soft so you can just peel it away. The surface it leaves is just like new and it’s safe for use on GRP too, recommended.

Building a car in a single garage

One of the reasons that I didn’t re-start the build many years ago was due to a lack of space. In an uncharacteristic attack of realism  I was forced to admit to myself that that won’t change for the foreseeable future.

To get to the point where I could even fit the car in my garage took several months of de-cluttering, reorganization and the purchase of a large shed to hold nearly everything that was filling the space. We should have bought a bigger shed.

Now, having started to work on the car I realise that I need to clear even more room. The first problem was that I could only work on one side of the car. To get to the other side meant pushing the car outside and working on it from there, hardly ideal as we approach winter.

I now have a solution to positioning problem. I bought a set of these SGS wheel dollies:

Now I can easily move the Marcos around the tiny garage. What’s more the car is at a more convenient height.

Coming soon, some real progress…

The next stage in the build is to finalize the arrangement of the engine components. This is critical to the success of the Thor V8 installation. I need to fit in the following:

  • Two new Jenvey throttle bodies on special manifold adapters. Engine air inlet ducting and filtration.
  • Plumbing for the cooling system.
  • Plumbing for the oil cooler.
  • The entire air conditioning system. Condenser, Receiver/Drier, Evaporator and Heater matrix. Associated plumbing.
  • New manifold for the compressor.
  • New dual-circuit pedal box and cover
  • Fuse box and all of the wiring loom branches.
  • Re-position the serpentine belt tensioner.
  • Find a new location for the engine steady bar.

I have to do this next, just to be sure that is all fits. Also, any associated chassis modifications have to be done before it’s galvanized.

That’s all for now.

Ian

All the small jobs

I’ve been spending a few evenings attacking some of the smaller, less interesting jobs.  Some of these tasks have involved removing a few misguided ‘features’ that I tried out during the first build.

In preparation for removing the body I have had to dig out the expanded foam that I used to fill the sill voids. The idea was to save the sills members from rusting through by preventing road crud from attacking them. I now feel that the opposite would be true. The moisture would still find its way in but probably wouldn’t dry out so quickly which could hasten the corrosion process In any case its all got to come out so that the body can be removed. I won’t be repeating this experiment for the final build.

I did try to remove some of the body fixing screws and managed the grand total of just one, even using an impact driver! I will have to re-think this…

The bonnet now closes but the clearances are very tight on the back of the inlet manifold. I’m still deciding what to do about that. The engine is now resting correctly on its mountings too.

One thing that really will have to change is the sump. It’s far deeper on this engine than the old P6 V8. Ground clearance can only be 30mm, maybe less and that’s nowhere near enough for the Isle of Wight roads.

I picked up the Sierra differential, hubs and drive shafts for the IRS conversion. A lot of cleaning to do, but they seem to be in very good condition.

That’s all for now. Back with something more interesting next time.

Ian

Feels like only yesterday

Last week I took a look at the Mantula to see if it was in a suitable state to move.  Yes if was filthy but that was to be expected. But I had forgotten just how many odds and ends were left inside and in the boot. No reason to keep them in there so I brought them home with me.

Now  I’ve just finished sorting and cleaning everything that’s worth keeping. That was a mucky job and I should have worn a face mask… Quite a lot had to go  including the main instruments which were badly corroded.  I wasn’t planing to use them on this build anyway.

I found an unused new set of  Mantula rear lights which I bought from the factory. I won’t be using them so if anyone needs a replacement set, make me an offer. These are the wide rectangular units with a curved mounting surface.

However, working my way through all of that old stuff made it feel like I last worked on the car yesterday, not 25 years ago! Best of all it’s really beginning to feel as if I can succeed this time.

Ian

Marcos Mantula: the never ending build…

Welcome to my Mantula blog.

After far too many years in storage the Mantula moves slowly into the sunshine.

Mantula emergesIt’s time to re-start the build of this beautiful car. This weekend I pulled off its dust sheets and pumped up the tyres. Then moved it out into the fresh air. Its great to see it again after so many years. But it does look terribly neglected. I really should have taken better care of it.

So the good news is that the tyres still look good and it was easy enough to move around.  So it should be relatively simple to transport the car to my garage/workshop.

The bad news is that the car has been home to mice, so the sound proofing is in a sorry state. There is corrosion on the frame where  the Hammerite paint has given up. The engine must surely be in a bad way too as the protective cap on the Holley carburettor has been eaten, perhaps by those mice?

Otherwise it’s much as I left it in 1999.  There is much work to be done, and I can’t wait to get started.

Ian