I know that I promised something more interesting at the end of my last post, but I can’t do better than this…
Interior sound-deadening
During the first build, I really thought that I was close to completion. I had the engine running and most systems operating correctly. So I decided to install the sound deadening felt. Half of it was done with EvoStick contact adhesive, but that didn’t seem to work too well. So, on the advice of one of my ‘expert’ friends I used some nasty very sticky black mastic. That was perhaps one of the last jobs I did on the car before it was mothballed for many, many years.
Back to the present and that old felt is in a very bad way. It made a perfect nest for mice. The evidence of several generations of small rodents was easy to see. They were very choosy about where the best nesting material was to be found, so the end of the passenger footwell and the inside of the passenger door were shredded. The other problem was the smell; that damp storage environment has left an unpleasant stale, mildew aroma inside the car.
It was obvious that all of the old felt had to go. The first important point is that you should wear a dust mask for this job. The mould spores and dust particles should not be inhaled. It only took a few minutes to strip out the bulk of the felt, but for each part I was left with a shaggy fur lining to the interior. The parts that had been attached with contact adhesive came off quite easily, but those that had been glued with mastic simply wouldn’t move. After trying a few things the only viable way was to soak the remaining areas with white spirit. Wait for a while then scrape it off with a blunt wallpaper remover. It is a nasty, messy and very smelly job. The worst part is that after several evenings of hard labour I’m still not finished.
The old EvoStick wasn’t eager to be chipped off either, but I was lucky to find some 3M Adhesive Cleaner in our local yacht chandlers. This makes the old glue go soft so you can just peel it away. The surface it leaves is just like new and it’s safe for use on GRP too, recommended.
Building a car in a single garage
One of the reasons that I didn’t re-start the build many years ago was due to a lack of space. In an uncharacteristic attack of realism I was forced to admit to myself that that won’t change for the foreseeable future.
To get to the point where I could even fit the car in my garage took several months of de-cluttering, reorganization and the purchase of a large shed to hold nearly everything that was filling the space. We should have bought a bigger shed.
Now, having started to work on the car I realise that I need to clear even more room. The first problem was that I could only work on one side of the car. To get to the other side meant pushing the car outside and working on it from there, hardly ideal as we approach winter.
I now have a solution to positioning problem. I bought a set of these SGS wheel dollies:

Now I can easily move the Marcos around the tiny garage. What’s more the car is at a more convenient height.
Coming soon, some real progress…
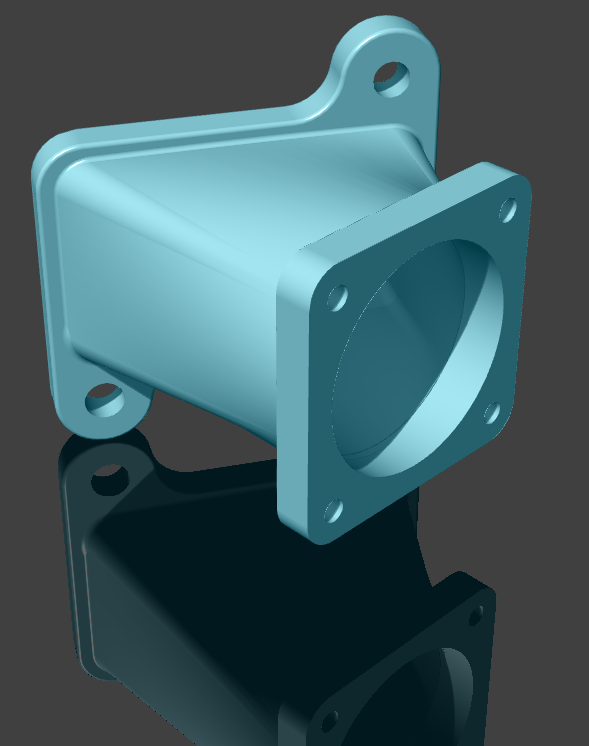
The next stage in the build is to finalize the arrangement of the engine components. This is critical to the success of the Thor V8 installation. I need to fit in the following:
- Two new Jenvey throttle bodies on special manifold adapters. Engine air inlet ducting and filtration.
- Plumbing for the cooling system.
- Plumbing for the oil cooler.
- The entire air conditioning system. Condenser, Receiver/Drier, Evaporator and Heater matrix. Associated plumbing.
- New manifold for the compressor.
- New dual-circuit pedal box and cover
- Fuse box and all of the wiring loom branches.
- Re-position the serpentine belt tensioner.
- Find a new location for the engine steady bar.
I have to do this next, just to be sure that is all fits. Also, any associated chassis modifications have to be done before it’s galvanized.
That’s all for now.
Ian