Happy New Year to you all. 2015 will be an important year for the Mantula. The initial strip-down and preparation will take a few more months, but then things will begin to move forward at a faster pace.
In the meantime I will continue with some of the various design tasks. In my last post I started work on the A/C housing pattern. This work continued over the Christmas break. The general shape is almost complete, and it’s looking just as I intended – which is a nice surprise!
The underside is shaped to sit on the chassis rails and clear the foot-well tub which sits slightly higher on my car.
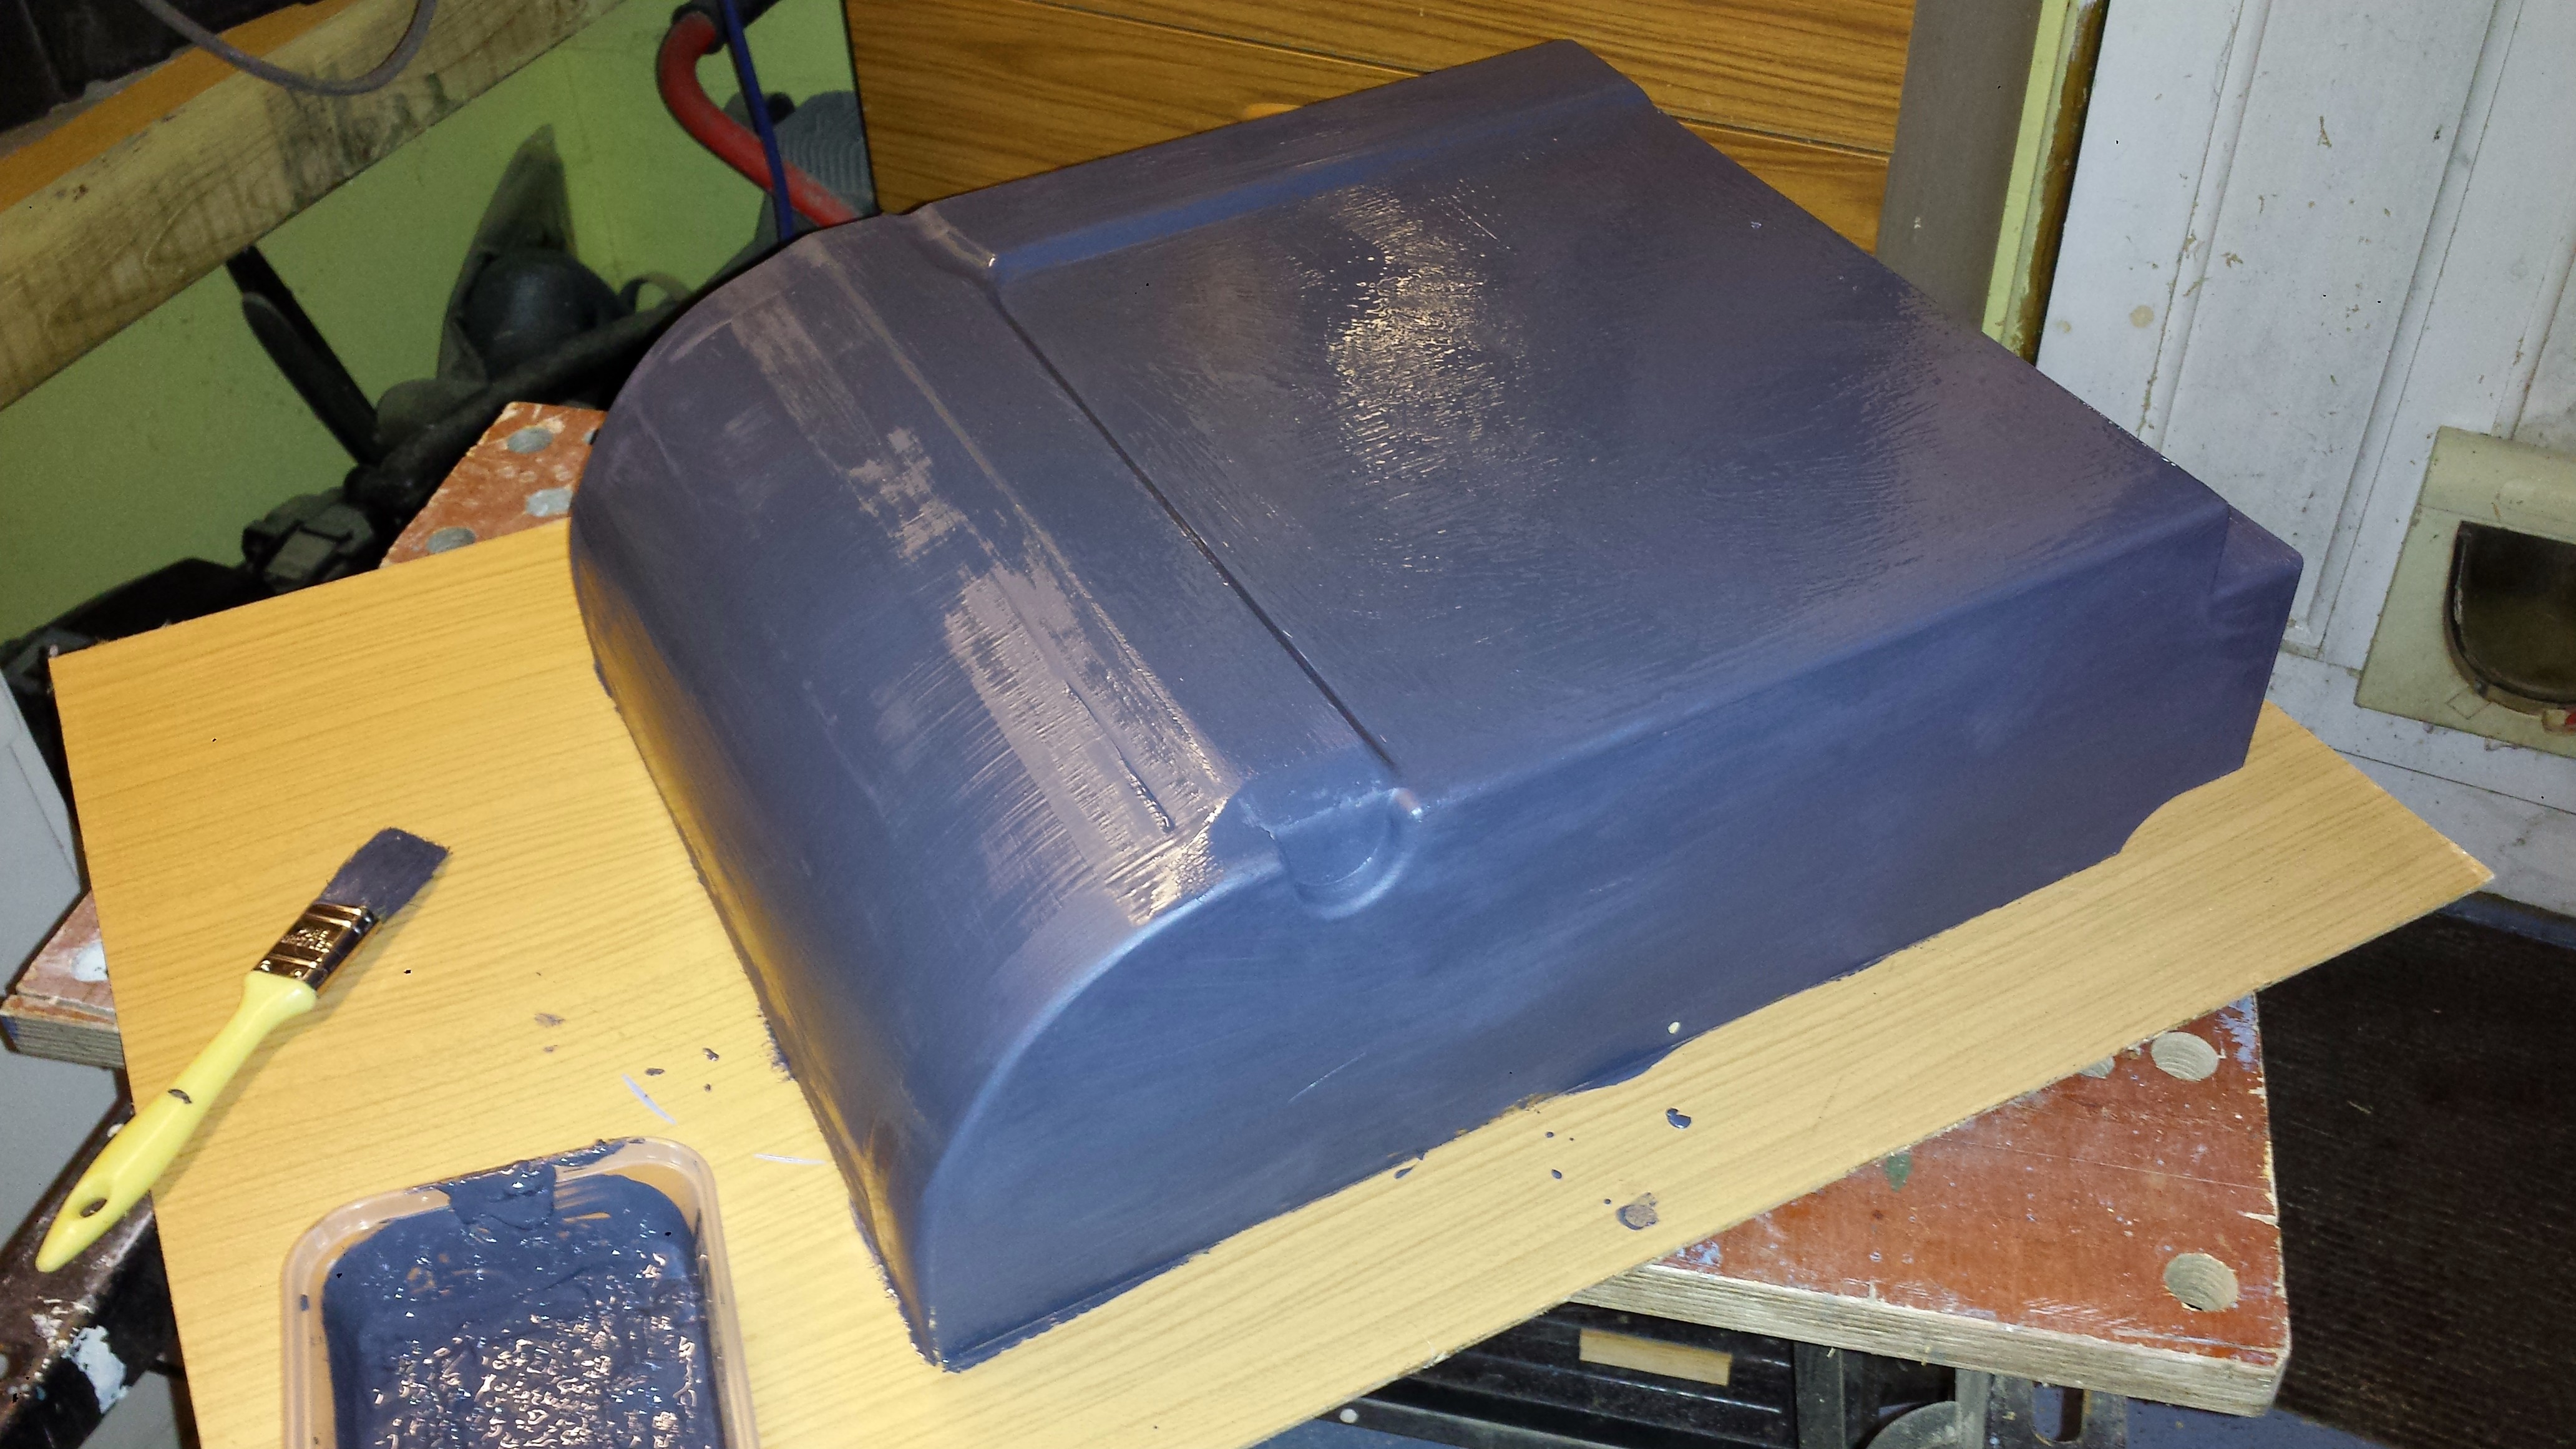
The semi-circular indent is there to clear the mounting point for the left-hand steering Rose joint (Heim joint). Despite carefully measuring the MEKP catalyst it still started to cure before I had finished applying all over, hence the rather rough finish. No problem though as this primer is easy to sand smooth.
For the top surface I wanted to follow the internal shape of the bonnet. I won’t go into detail on how I achieved this using expanding foam. To be honest it was a messy disaster, but we live and learn…
However it was recoverable so I now have this shape…
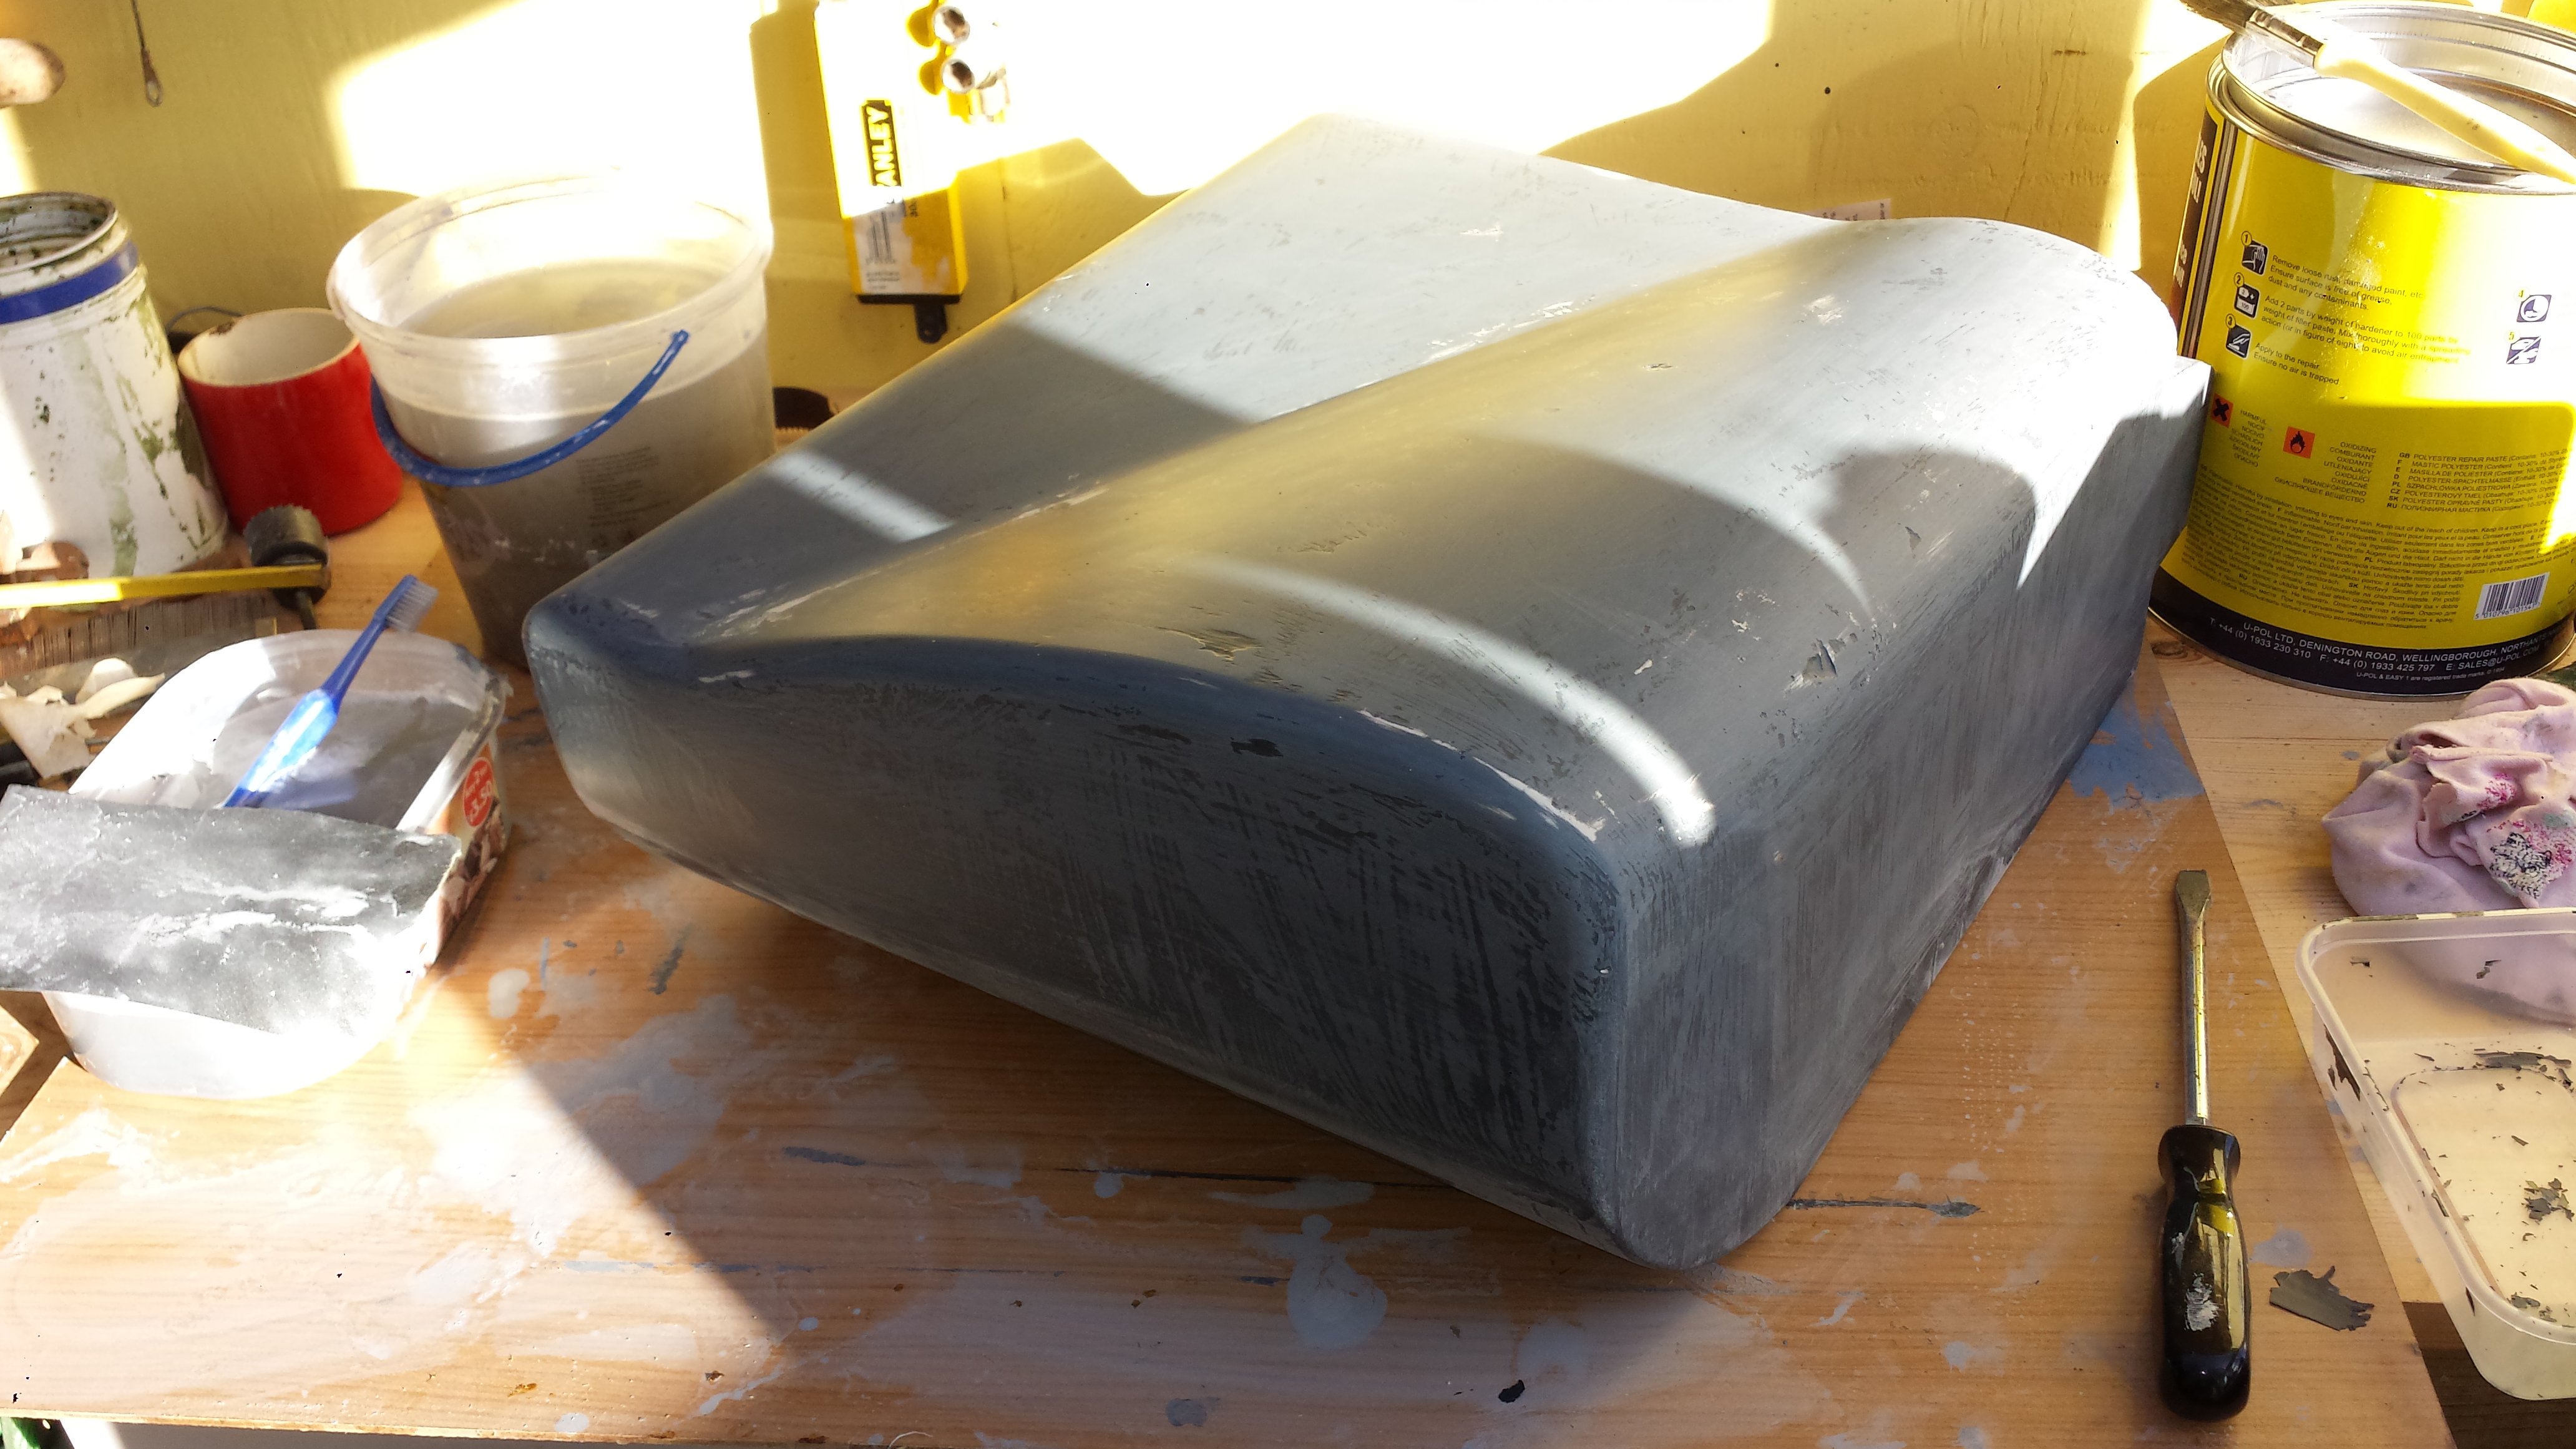
This is close to completion, but it still needs to have the air inlet moulded into the front. Clearly there are still imperfections in the surface, but these will soon be filled.