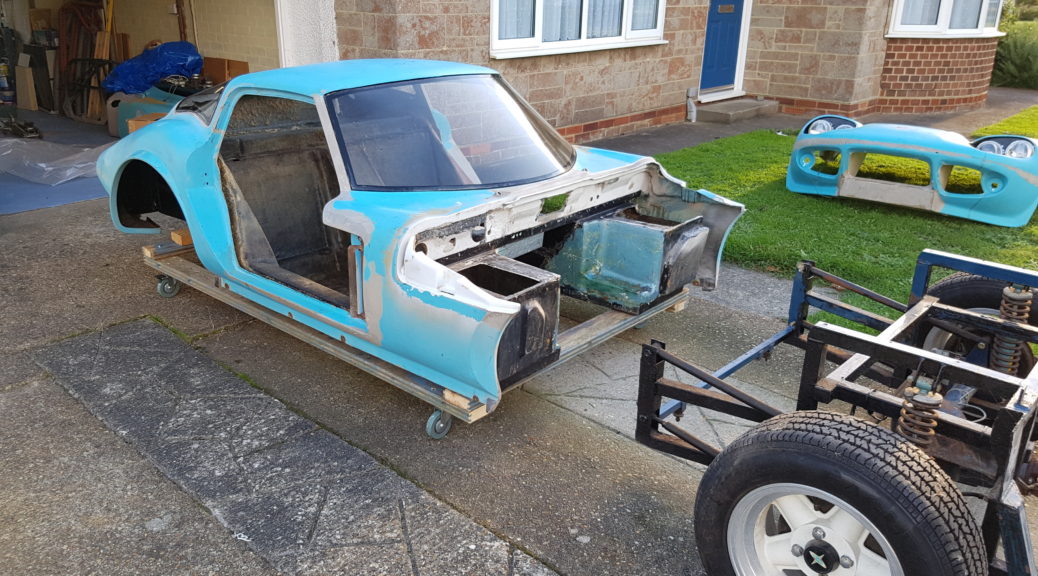
It was always my intention to get my chassis hot-dip galvanised. But there were potential problems. The age of the chassis and the use of Waxoyl on some tubes would make the whole process more complex, or even impossible.
To work-around that problem I would have to get the entire chassis dip treated to clean it inside and out, removing rust, powder-coat and any waxy contaminants. Now that whole process doesn’t come cheap, and would seriously harm the project’s bank balance. On top of that the transport costs from the Isle of Wight to MHS in Wiltshire (for the chassis mods), then to the surface treatment company in the Midlands followed by a trip over to the galvanisers in South Wales before returning to the Island would cost a fortune.
The budget for the project is tighter now that I’m self-employed again, every penny spent has to be worthwhile. Less cash means slower progress as I have to do more of the work myself. Where I don’t have the necessary skills, I’ll use the best local companies here on the Island. Despite only being a tiny island we have a disproportional number of skilled engineers, the only real problem is finding the people with a professional attitude. All too often you find the “that’ll do” slap dash approach and that’s no good for this project.
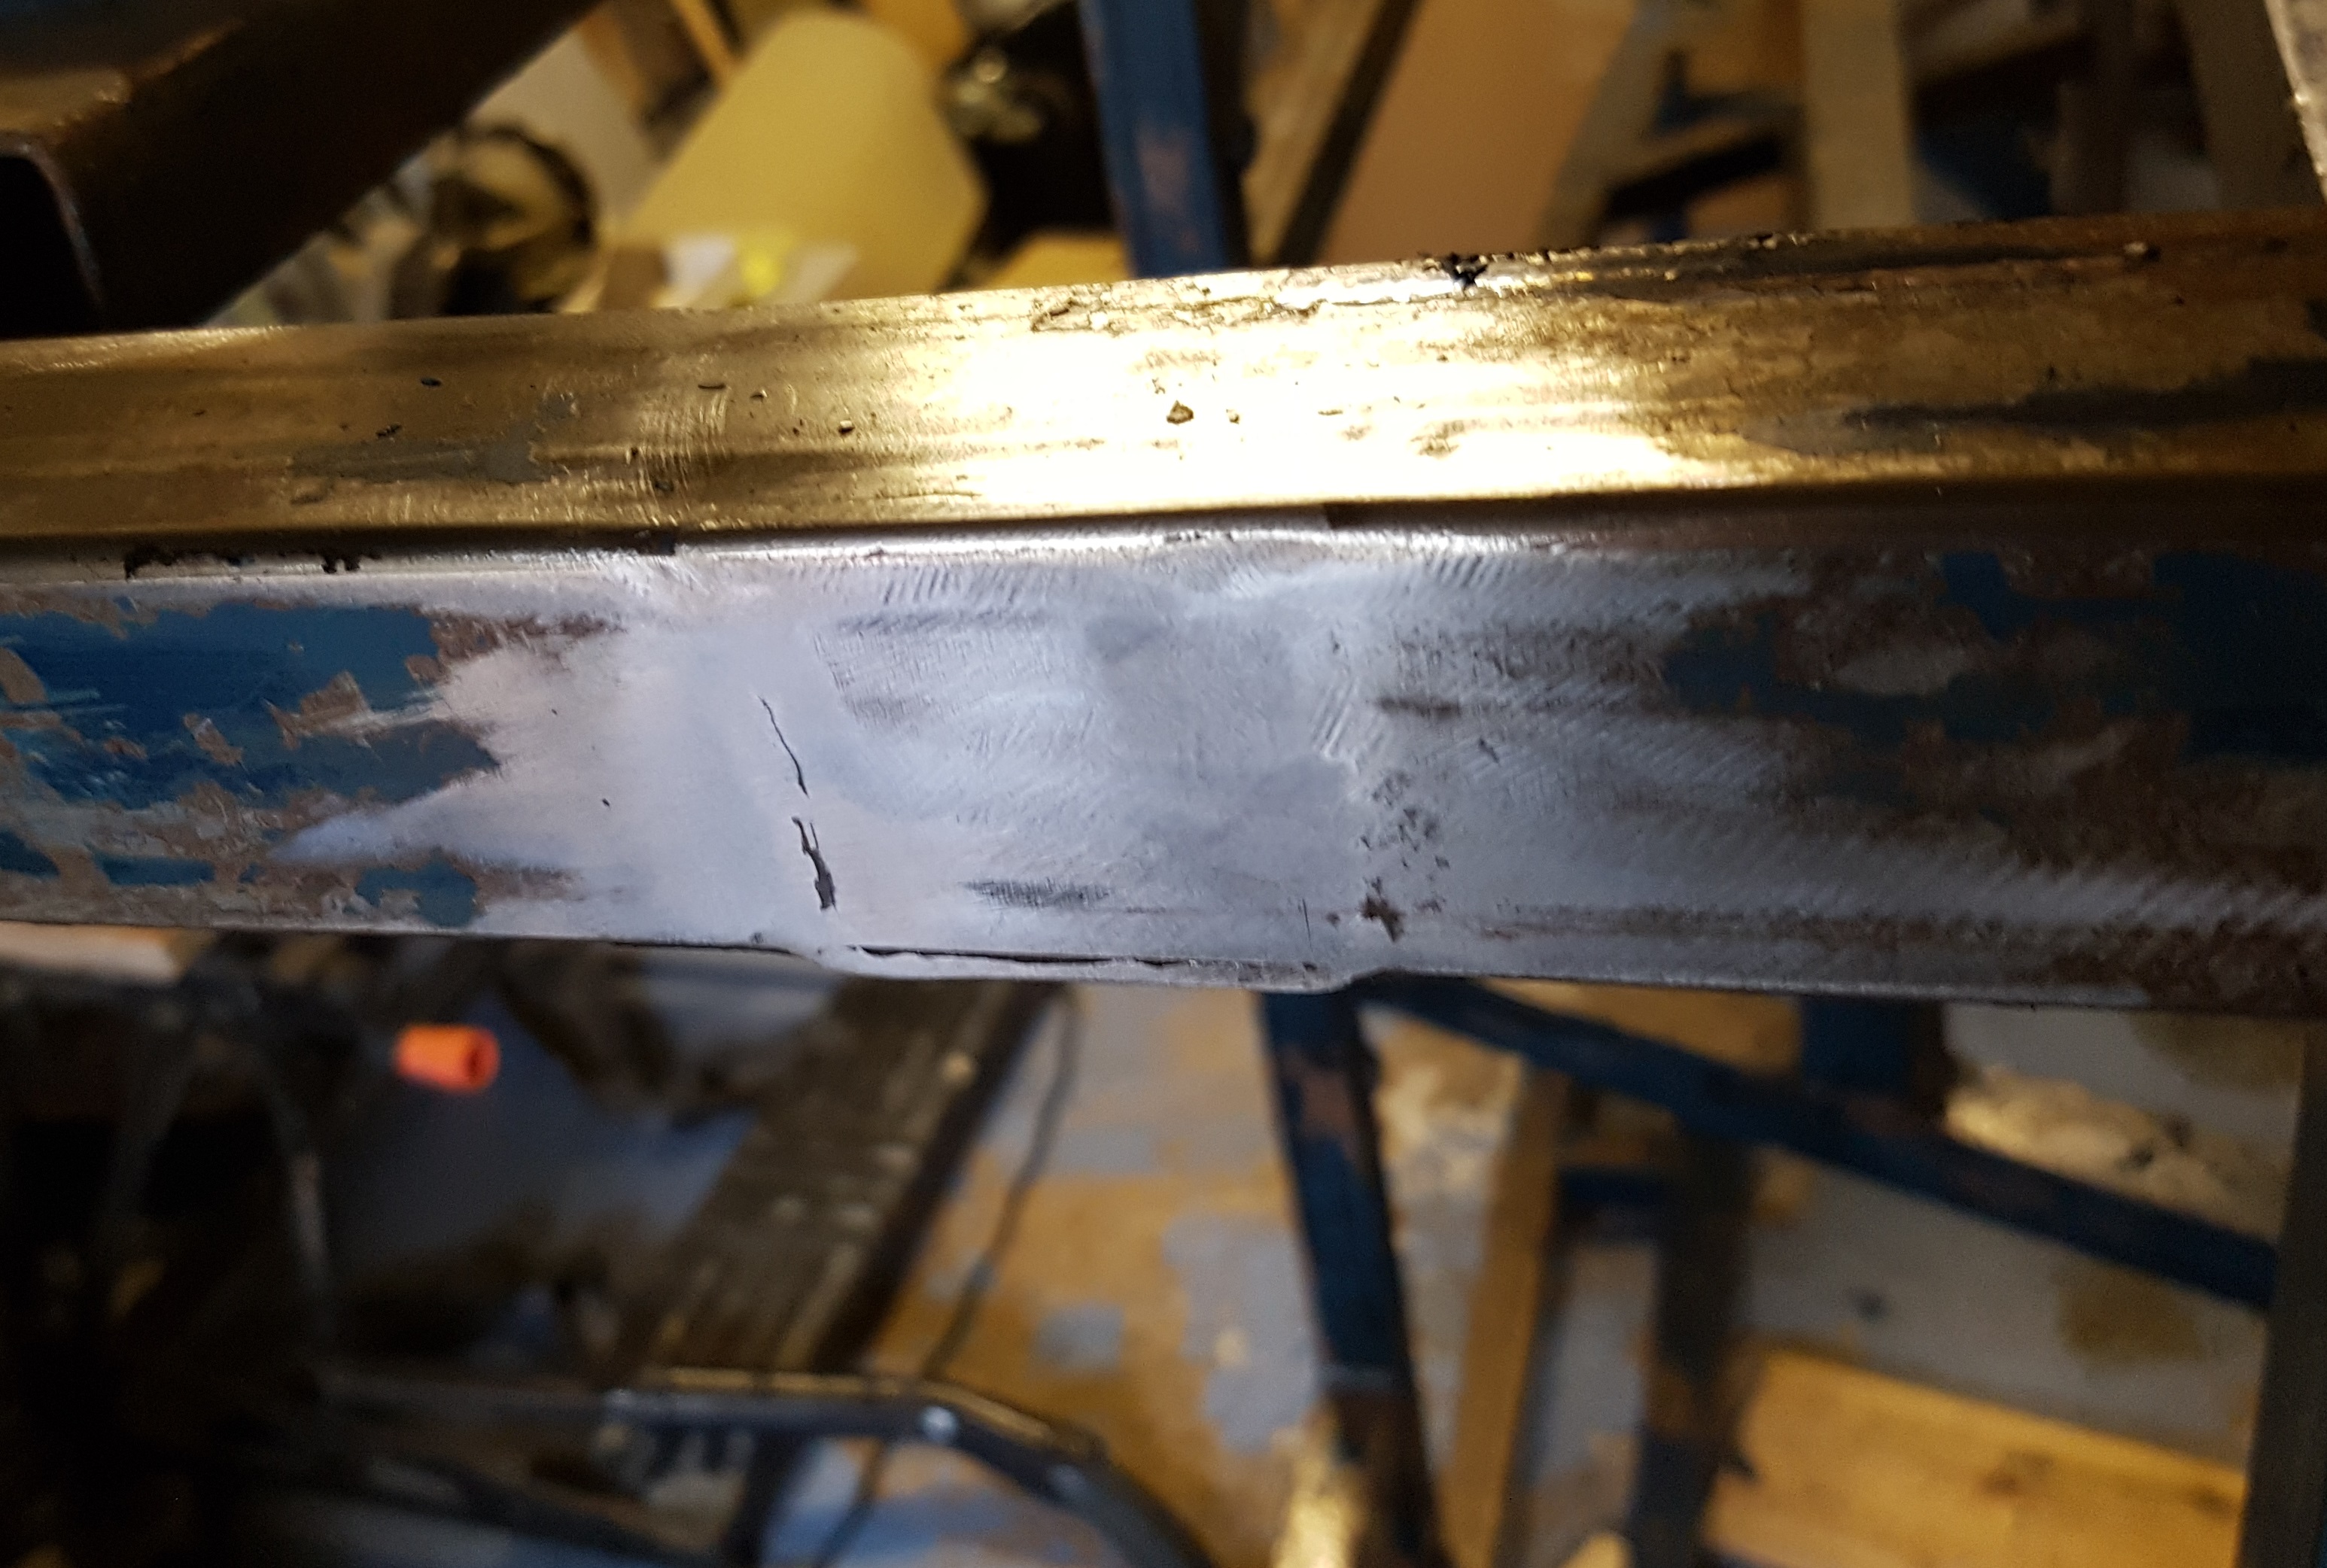
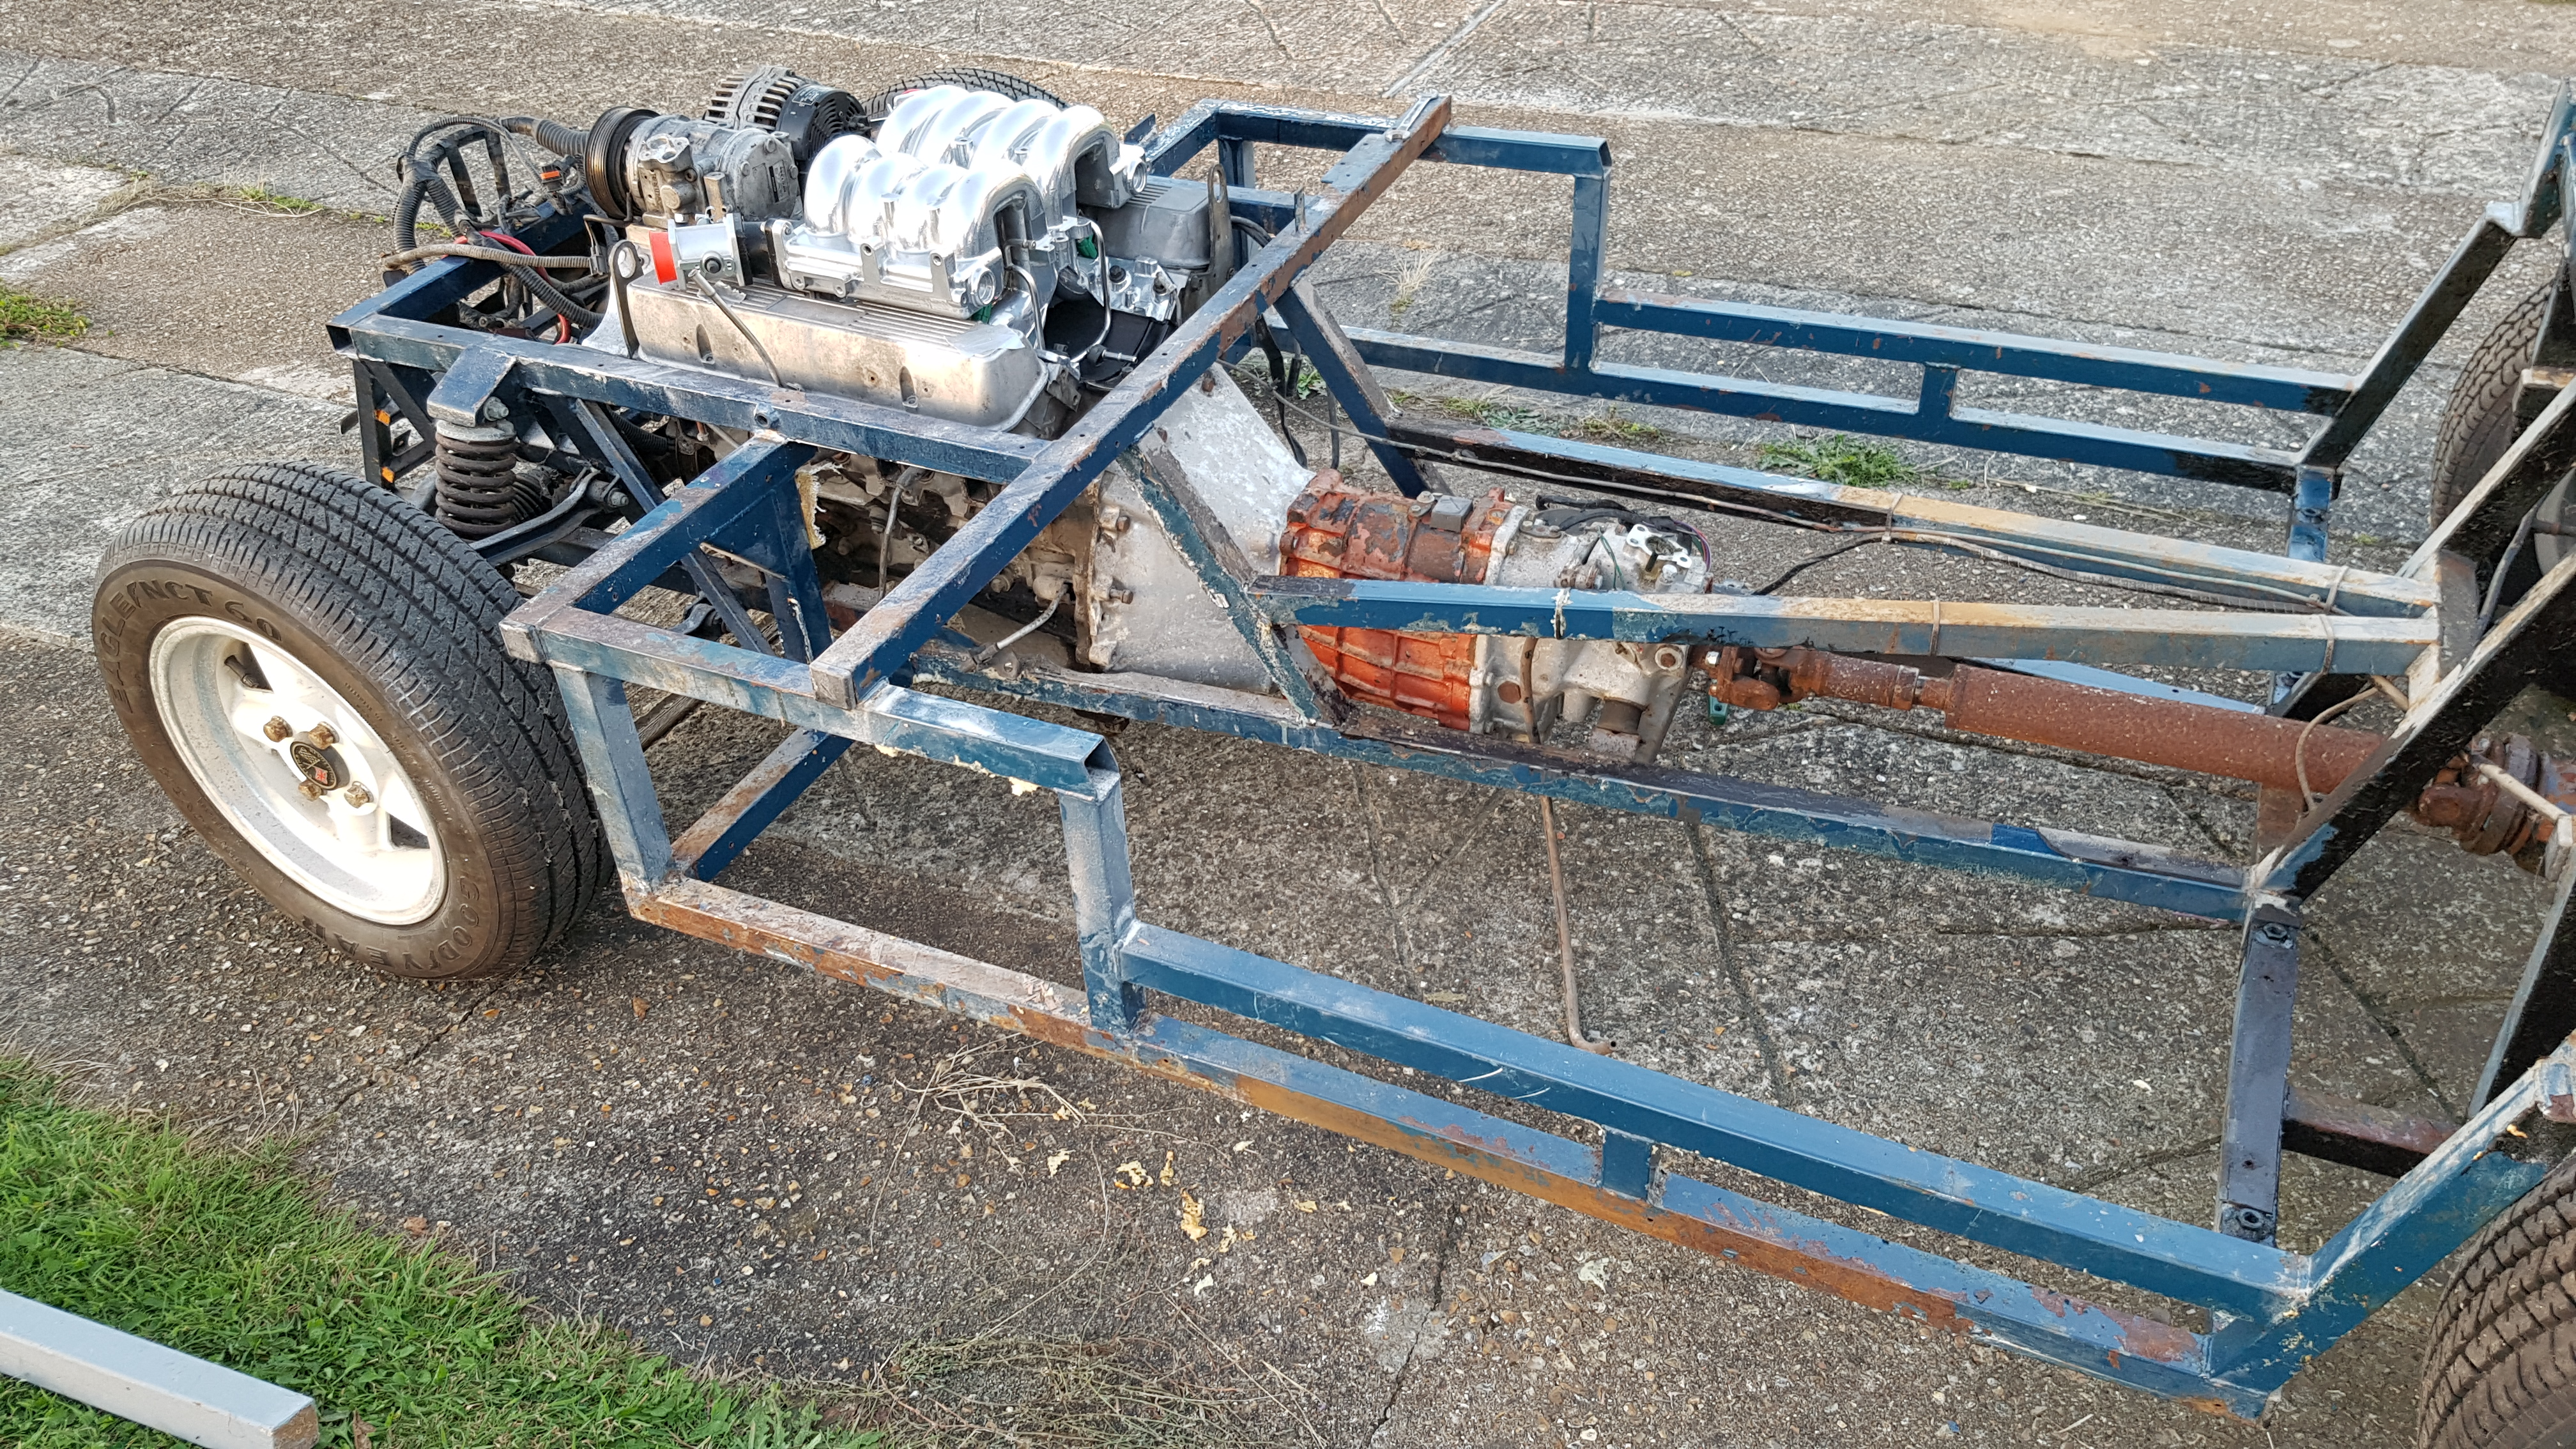
So far I have a great welder lined-up and hope to agree the surface prep blasting with a local company. They will media blast the chassis and then coat it with my chosen system.
Zinga
Earlier I mentioned the need to take the chassis to South Wales to be galvanised, well I have discovered something just as good, or in some cases better. The product is Zinga and its a way to zinc coat the chassis without heat. It can be applied by brush, roller or spray and gives the same cathodic protection as HDG (Hot-dip galvanising). How can I be certain that it works? Well, other than their own marketing material, I was able to find industry reports on the product’s actual performance. It’s NATO approved too. It’s used on ocean-going ships and oil rigs where it out-performs HDG. Closer to home it was used on the structure of the London Olympic stadium and given a minimum 60 year life before re-coating. If the Mantula chassis lasts that long I’ll be long gone!
In the event of any damage the Zinga can be locally repaired. Try doing that with HDG.
Another benefit of the system is that it takes over-coating better than HDG. I’ll be using Zinga Ceram which is a two-pack ceramic coating which is said to be abrasion resistant. It comes in the full Range of RAL colours, so I just need to decide which one to choose. The traditional Marcos dull blue, or something more exciting.
I hope I don’t read like a Zinga salesman, but it just seems to be the perfect solution for my project. The only sticking point so far is the relative lack of enthusiasm from the surface blasting company. They are trying to sell me on a high zinc paint, not the same thing at all.